Painting interior doors the right way comes down to proper prep, the correct primer, and applying thin, even coats with the right tool for your finish. Most homeowners can refresh a door in a single weekend if they remove hardware, sand the surface, fill any dings, and let each coat dry fully before adding the next.
A small foam roller works well for flat panels, while a brush handles corners and panel edges, and spraying gives the smoothest factory-like result if you have the setup for it. Semi-gloss or satin finishes are the most popular choices because they resist fingerprints and are easy to wipe clean.
Painting interior doors also gives a quick, affordable way to update the look of a hallway, bedroom, or living space without a full renovation. Whether you tackle one door or every door in the house, following the right steps makes painting interior doors a simple project with a professional-looking outcome.
Why Painting Interior Doors Makes Such a Big Difference
Interior doors take a lot of daily wear. Hands touch them constantly, shoes sometimes scuff the bottom, and over the years the paint can turn dull or chipped. Painting interior doors is one of the ways to make a room feel fresher without spending money on new doors.
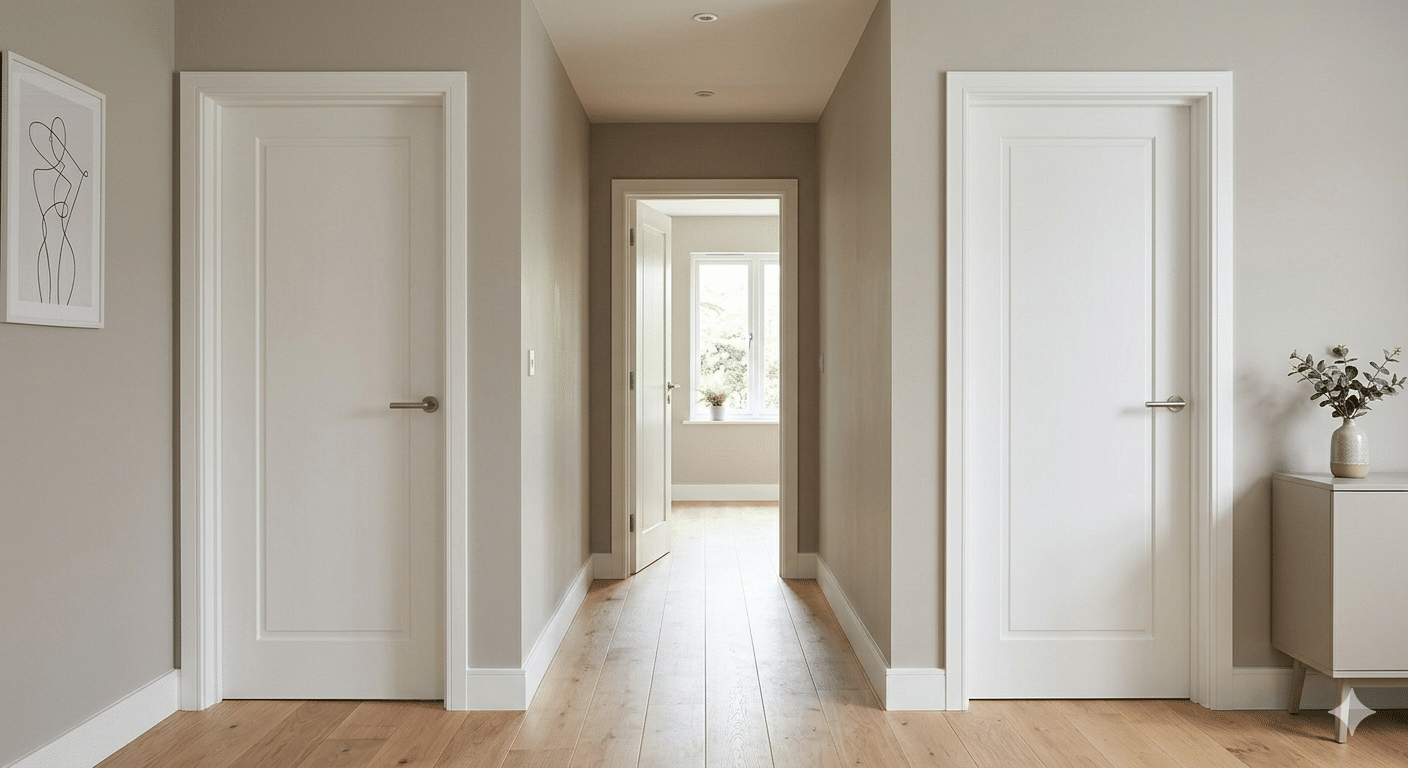
A freshly painted door can truly unify a room’s design. When walls are recently updated but doors remain with old, yellowed paint, the contrast can make the space feel incomplete. Painting interior doors to complement your trim or wall color results in a polished, cohesive appearance.
Beyond enhancing aesthetics, painting interior doors provides an extra layer of protection. Using a high-quality paint and primer combination effectively seals the wood or MDF surface, increasing its resistance to moisture, stains, and daily wear and tear.
How to Prepare Doors Before Painting
Preparation is the most important part of painting interior doors. Skipping this step is the main reason paint jobs look uneven or start peeling within months.
Removing Hardware and Cleaning the Surface
Start by removing doorknobs, hinges, and any other hardware you can take off. This keeps paint from getting on metal parts and gives you a cleaner edge. If hinges cannot be removed easily, cover them with painter’s tape.
Next, clean the door with a mild soap and water solution to remove dust, grease, and fingerprints. Kitchen and bathroom doors often have grease buildup near the handle area, so give those spots extra attention. Let the door dry completely before moving to the next step.
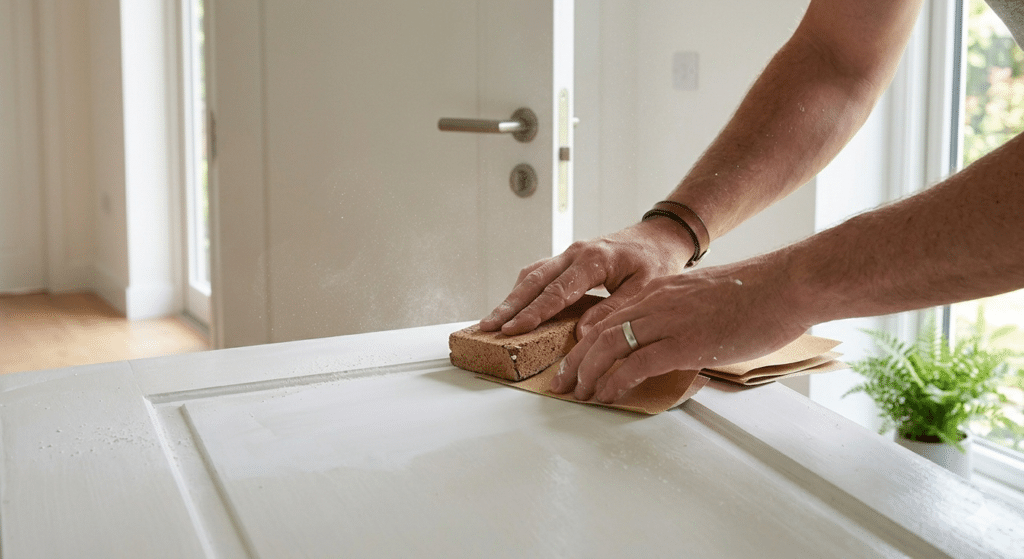
Sanding and Filling Imperfections
Lightly sand the entire door with fine-grit sandpaper to rough up the existing finish so the new paint can grip properly. This step matters even if the door looks smooth, since glossy old paint can cause new paint to slide off or peel later.
Fill any dents, holes, or scratches with wood filler. Once dry, sand the filled areas until they are flush with the surrounding surface. Wipe away all dust with a damp cloth or tack cloth before painting.
What Is the Best Method for Painting Interior Doors?
The best method for painting interior doors depends on the tools available and the finish you want. For most homeowners, a combination of a small foam roller and an angled brush gives the best balance of speed and smoothness.
A foam roller spreads paint evenly across flat sections of the door without leaving heavy texture. The angled brush is used for corners, panel grooves, and edges where a roller cannot reach. Working in this order, paint the panel details first with the brush, then roll the flat areas, and finally smooth everything with light brush strokes in the direction of the wood grain.
For those who want a flawless, showroom-style finish, spraying is the better option. Spraying interior doors requires removing them from their hinges and laying them flat or hanging them in a controlled space, but it eliminates brush marks completely.
| Method | Best For | Pros | Cons |
| Brush and Roller | Most homeowners, doors left on hinges | Affordable, easy cleanup, no special equipment | Slightly more visible texture |
| Spray | Flawless finish, multiple doors at once | Smoothest result, fast on flat surfaces | Requires removing doors, more setup and overspray control |
| Brush only | Small touch ups, panel details | Good control on edges and corners | Slower, can leave brush marks on large areas |
Is It Better to Spray or Roll Paint on Doors?
Spraying generally gives a smoother finish than rolling, but rolling is more practical for most households. Spraying interior doors requires a dedicated work area, proper ventilation, and time to mask off surrounding surfaces to avoid overspray on walls and floors.
Rolling with a quality foam roller, paired with brush work on the details, gets you a finish that looks great once dry and is far more manageable for a single door or a few doors at a time. If you are painting interior doors throughout an entire home and want a consistent factory finish, spraying may be worth the extra setup, especially if the doors can be removed and worked on outside or in a garage.
For homeowners who are unsure which approach fits their space, hiring professional house painters can help decide between spraying and rolling based on the number of doors and the desired finish.
What Paint Do You Use for Interior Doors?
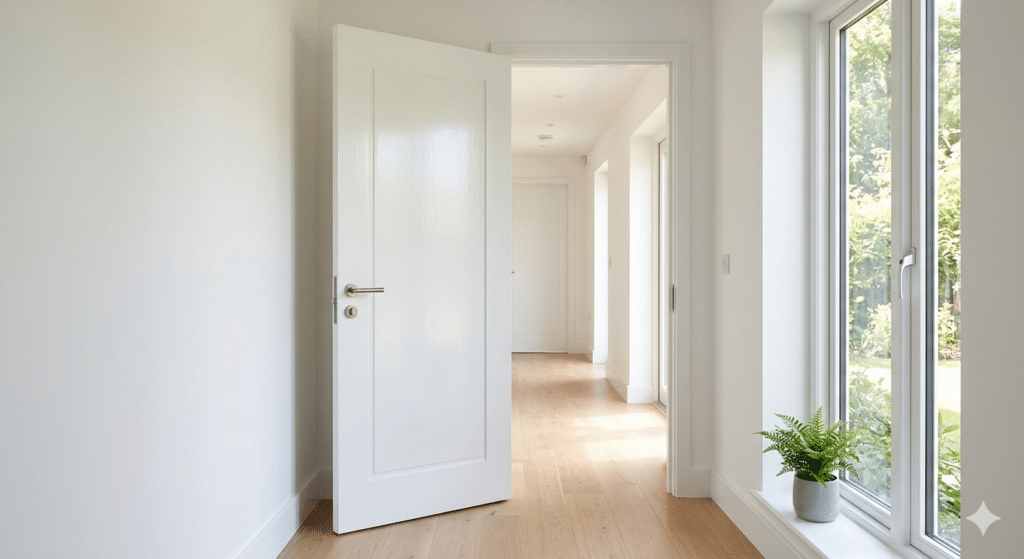
The right paint for painting interior doors is a high-quality acrylic or alkyd-based paint in a satin, semi-gloss, or high-gloss sheen. These sheens are durable, easy to clean, and hold up well against the constant touching and bumping that doors go through daily.
Satin finishes offer a soft glow and hide minor imperfections better than glossier options, making them a popular choice for bedroom and hallway doors. Semi-gloss and high-gloss finishes are more reflective and tend to be the top pick for kitchens, bathrooms, and high-traffic entry doors because they resist moisture and are simple to wipe down.
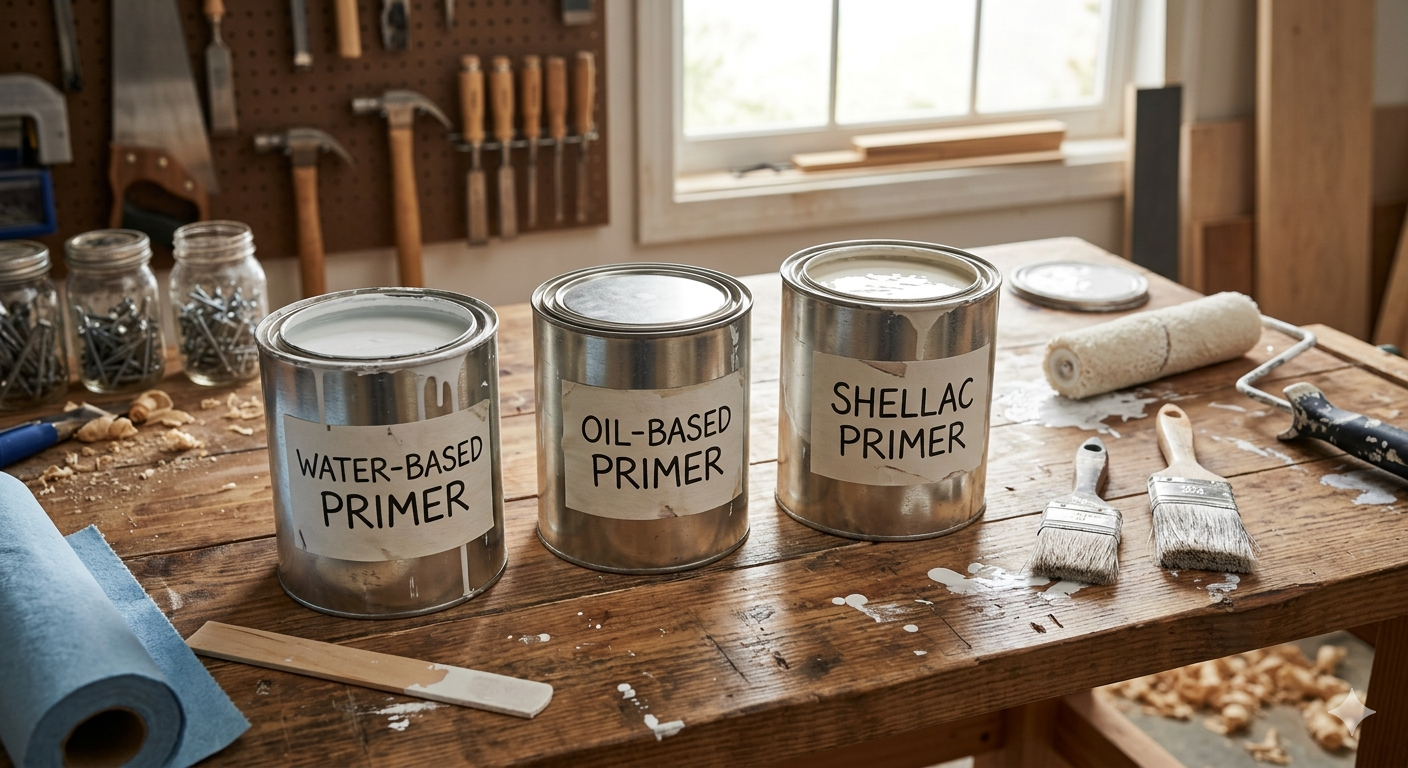
Primer also plays a big role. If the door is bare wood, has stains, or is a different color than your topcoat, a stain-blocking primer ensures even coverage and prevents old colors from showing through. Skipping primer is one of the most common mistakes when painting interior doors, often leading to patchy results and extra coats of paint.
Can You Just Paint Over Interior Doors?
Painting over interior doors without prep is possible, but it rarely produces good results. Old paint, dust, grease, and glossy finishes all interfere with how well new paint sticks. Without cleaning and light sanding first, painting interior doors directly over the old surface often leads to peeling, bubbling, or an uneven sheen within a short time.
If the existing paint is in decent shape and the same type as what you plan to use, a light sanding and a coat of bonding primer can sometimes be enough. However, for doors with chips, cracks, or a glossy enamel finish, proper prep work makes a noticeable difference in how long the new paint lasts.
Step-by-Step Guide to Painting Interior Doors
Painting interior doors becomes much easier when broken into clear steps. Here is a simple order to follow for consistent results:
Step 1: Set Up Your Workspace
Lay down drop cloths to protect floors and nearby furniture. If removing the door, set up sawhorses or a flat surface so you can paint it lying down, which helps avoid drips.
Step 2: Remove Hardware and Clean
Take off knobs, hinges, and any other removable parts. Clean the surface thoroughly and let it dry.
Step 3: Sand and Fill
Sand the entire door lightly, fill imperfections with wood filler, then sand again once dry.
Step 4: Apply Primer
Apply a thin, even coat of primer and let it dry fully according to the can’s instructions.
Step 5: Paint in Thin Coats
Apply the first coat of paint, working from panel details outward to flat areas. Let it dry completely before adding a second coat.
Step 6: Reinstall Hardware
Once the final coat is fully cured, reattach hinges, knobs, and any other hardware.
For homeowners working on multiple rooms at once, exterior and interior painting projects often go hand in hand, especially when refreshing a home before selling or after a renovation.
Is It Better to Paint Internal Doors With a Roller or Brush?
A combination of both tools gives the best results when painting interior doors. Rollers cover large flat panels quickly and evenly, while brushes are needed for the raised panel edges, corners, and detailed molding that rollers cannot reach.
Using only a brush on a large flat door section can leave visible brush strokes once the paint dries. Using only a roller on panel doors leaves the grooves and edges unpainted or messy. The most reliable approach is brushing the details first, then rolling the flat sections, and finishing with a light brush pass to blend everything together while the paint is still wet.
| Tool | Best Used For | Result |
| Foam Roller | Flat door panels, large surfaces | Smooth, even coverage |
| Angled Brush | Corners, grooves, raised panel edges | Precise control, reaches tight spots |
| Combination | Full door, panel-style doors | Most even, professional looking finish |
Things to Know Before Painting Interior Doors
- Always let each coat dry fully before adding another, rushing leads to tackiness and uneven texture.
- Keep doors slightly open while drying so they do not stick to the frame.
- Work in a well-ventilated room, especially when using oil-based primers or paints.
- Remove doors from hinges if you plan on spraying, to get the most even coverage.
- Choose satin or semi-gloss finishes for doors that get touched often, like entryways and kids’ rooms.
- Label hardware with tape and a marker if removing multiple doors at once, so everything goes back in the right place.
If your project also includes touch ups to walls or trim, professional residential painting services can handle doors and surrounding surfaces together for a cohesive finish.
True Coat is a licensed and fully insured painting company based in Winnipeg, Manitoba, offering interior and exterior painting services for homeowners looking for a smooth, lasting finish on their doors and trim.
Wrapping Up
Painting interior doors is a simple, budget-friendly way to refresh any room, and the results depend almost entirely on preparation and technique. Cleaning, sanding, priming, and choosing the right sheen all play a role in how smooth and durable the finish turns out.
Whether you choose to spray for a flawless look or stick with a brush and roller for convenience, taking the time to do each step properly makes painting interior doors a project that pays off for years to come.
For those who would rather leave it to professionals, reliable house painting services in Winnipeg can help bring that fresh, finished look to every door in your home. To get started on your project, contact True Coat for a free estimate.
Frequently Asked Questions About Painting Interior Doors
Can you just paint over interior doors?
Painting over doors without cleaning and sanding usually leads to peeling or uneven results within months.
What is the best method of painting interior doors?
A foam roller for flat panels paired with an angled brush for edges and corners gives the most even finish.
Is it better to spray or roll paint on doors?
Spraying gives a smoother finish, but rolling with a brush is more practical for most homes.
What paint do you use for interior doors?
A satin, semi-gloss, or high-gloss acrylic paint with a stain-blocking primer works best for durability.
Is it better to paint internal doors with a roller or brush?
Using both together works best, brushes for details and rollers for flat panel surfaces.