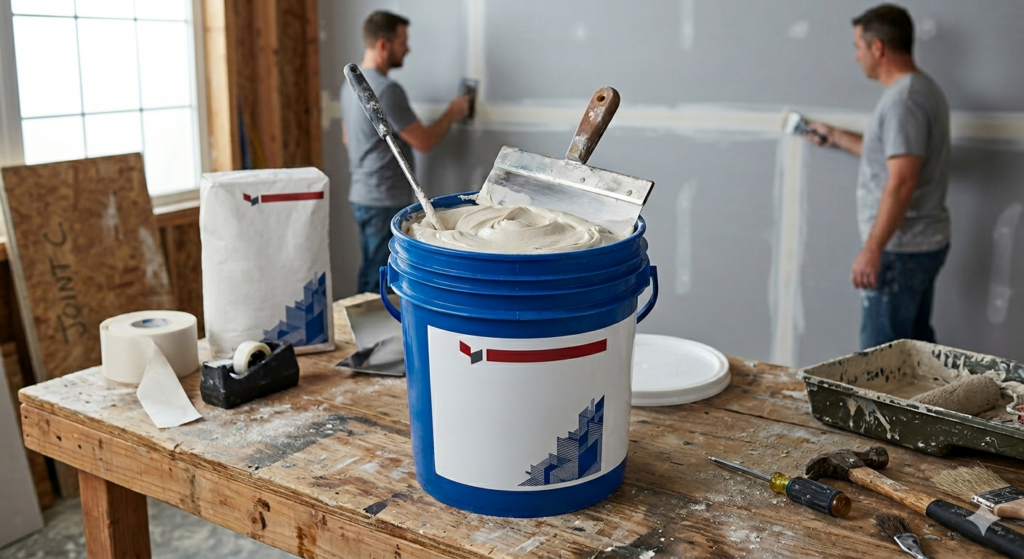
Drywall compound is a paste-like material used to fill joints, cracks, and imperfections in walls and ceilings, and it is one of the most important products in any wall repair or finishing project.
Choosing the right drywall compound and applying it properly can mean the difference between a smooth, paint-ready wall and a surface full of cracks, bumps, or uneven spots.
There are several types of drywall compound available, including all-purpose, lightweight, topping, and setting compound, each designed for a specific stage of the job.
Knowing when to use each type, how to mix and apply it, and how to sand and prime correctly helps you get a professional finish. Whether you are patching a small hole, finishing new drywall, or prepping for paint, using the correct drywall compound technique makes the whole process faster and cleaner.
For large or complex projects in Winnipeg, working with a licensed team like True Coat ensures the job is done right the first time.
What Is Drywall Compound?
It is called joint compound or mud, is a white paste made from gypsum dust mixed with water and other additives. It is spread over drywall seams, screw holes, corners, and damaged areas to create a flat, uniform wall surface.
Once it dries and is sanded smooth, the wall is ready for primer and paint. Without it, you would see every joint line, nail pop, and seam through your finish coat.
In Canada, drywall compound is sold in buckets ranging from small 1-litre containers to large 20-litre pails. It is used for both residential and commercial construction, renovations, and repairs.
The product has a creamy consistency when fresh and shrinks slightly as it dries, which is why multiple coats are almost always needed.
What Does Drywall Compound Do?
Drywall compound serves several key purposes in wall construction and repair. Its primary job is to cover and blend drywall joints so they disappear under paint.
It also fills screw or nail holes, patches surface damage, and creates smooth corner finishes. Without a proper layer of drywall compound, any wall would show all the seams where sheets of drywall meet, making it impossible to get a clean painted finish.
Beyond hiding joints, drywall compound also bonds drywall tape to the wall. Paper or mesh tape is embedded into the first coat of wet compound, and additional coats are feathered out to blend the repaired area with the surrounding wall.
This layered process, often called taping and mudding, is what creates that seamless look you see in finished rooms.
What Kind of Compound Is Used for Drywall?
Not all drywall compound is the same. Each type has a specific role, and using the wrong one at the wrong stage can cause cracking, poor adhesion, or a surface that is hard to sand. Here is a breakdown of the four main types:
All-Purpose Drywall Compound
This is the most commonly used product on job sites. All-purpose drywall compound can be used for taping, topping, and texturing. It is a solid choice for general repairs and smaller projects because you only need one product for multiple steps. However, it takes longer to dry than setting compound and may shrink a bit more.
Lightweight Drywall Compound
Lightweight drywall compound contains additives that reduce its weight by about 25 to 35 percent compared to all-purpose compound. It is easier to sand, dries faster, and is less likely to crack.
This makes it popular for finish coats and skim coating. For projects in Winnipeg where humidity can slow drying times, lightweight compound is a practical choice.
Topping Compound
Topping compound is used for the final coat. It is the smoothest and easiest to sand of all the pre-mixed options. It is not strong enough for taping, but it gives you that super-fine finish coat before painting. Topping drywall compound is best used on new construction where large flat areas need to be finished.
Setting Compound (Hot Mud)
Setting compound, sometimes called hot mud, comes in powder form and mixes with water. Unlike pre-mixed products, it hardens through a chemical reaction rather than by drying. Setting drywall compound comes in different time ratings such as 20, 45, or 90 minutes.
It is harder, denser, and much more difficult to sand. It is ideal for filling deep holes, building up thick areas, or working in cold or humid conditions where pre-mixed compound dries slowly.
Drywall Compound Types at a Glance
| Type | Best Use | Key Benefit |
| All-Purpose | Taping, topping, and texturing | Versatile, one product for all stages |
| Lightweight | Finish coats and skim coating | Easy to sand, faster drying |
| Topping | Final coat only | Smoothest surface for painting |
| Setting (Hot Mud) | Deep fills, cold/humid conditions | Hardens by chemical reaction, very durable |
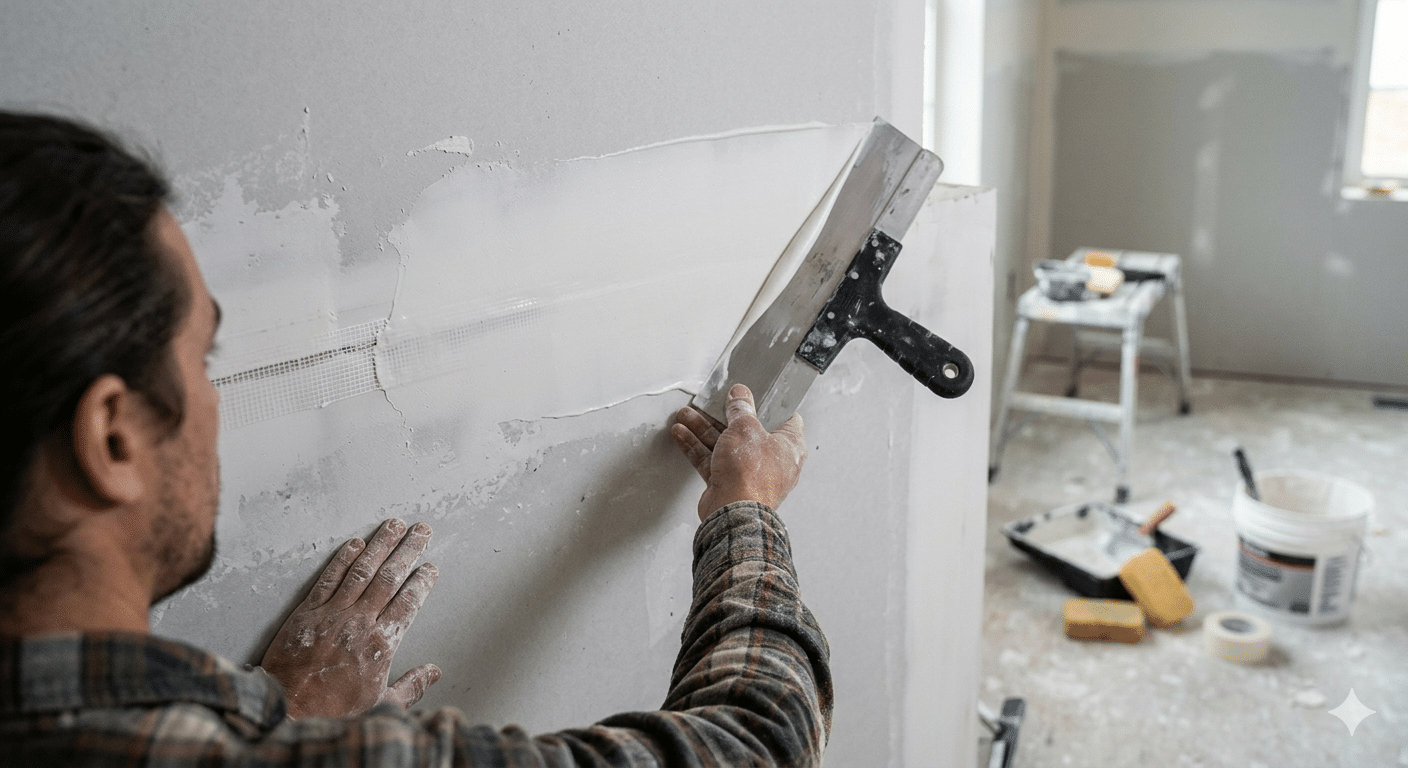
How to Apply Drywall Compound Step by Step
Applying drywall compound correctly takes practice, but the basic process is straightforward. A proper application always involves at least three coats: a tape coat, a second filling coat, and a finish coat. Rushing through the steps or skipping drying time between coats leads to cracking and shrinkage.
• First coat (tape coat): Spread a thin layer of drywall compound over the joint, embed your tape, and smooth it flat. Let it dry completely, which usually takes 24 hours depending on temperature and humidity.
• Second coat: Apply a wider, thinner layer over the tape coat. Feather the edges out several centimetres on each side to blend with the surrounding wall. Allow full drying time.
• Third coat (finish coat): Use lightweight or topping compound for a thin, smooth final layer. Sand lightly once dry using 120 to 150 grit sandpaper.
• Prime and paint: After sanding, apply a coat of drywall primer before painting. Skipping primer causes paint to absorb unevenly and show lap marks.
For walls that need more than just mudding, True Coat offers professional drywall and plaster repair services to restore any surface to a flawless condition.
How Many Coats of Drywall Compound Do You Need?
Most professionals recommend a minimum of three coats of drywall compound for any taped joint or repaired area. For skim coating an entire wall, two to three thin coats are typically enough. The number of coats you need depends on the size of the repair, how deep the recess is, and how smooth you want the finished surface.
A common mistake is applying one thick coat instead of multiple thin ones. Thick layers of drywall compound crack as they dry because the outer surface dries faster than the inside. Thin coats dry evenly and bond better to the layer below. Patience is the key to a clean result.
Coats Needed by Project Type
| Project Type | Minimum Coats | Practical Tip |
| Taping new drywall joints | 3 coats | Let each coat dry 24 hrs before the next |
| Patching small holes | 2 to 3 coats | Use lightweight compound for easier sanding |
| Skim coating a full wall | 2 to 3 coats | Feather each coat wide for a seamless look |
| Filling deep damage | 3 to 4 coats | Use setting compound for the base layer |
Can I Paint Directly on Drywall Compound?
Technically, you can paint over dried drywall compound, but it is not recommended without priming first. Raw drywall compound is very porous and will absorb paint at a different rate than the surrounding drywall paper.
This creates what is called flashing or hot spots, where the repaired area looks darker or shinier than the rest of the wall once the paint dries.
A coat of drywall primer seals the compound so it absorbs paint the same way as the rest of the wall. It also improves paint adhesion and reduces the number of finish coats needed. Skipping primer is one of the most common reasons freshly painted walls look uneven. Always prime before painting, especially when drywall compound covers a large area of the wall.
If you are curious about how proper wall preparation leads to a better finish, read our post on how skim coating a ceiling creates a flawless finish for practical tips.
Things To Know About Drywall Compound
• Drywall compound shrinks as it dries. Always apply thin coats to minimize cracking and shrinkage.
• Humidity and cold temperatures slow drying time significantly. In Winnipeg winters, allow extra time between coats or use setting compound.
• Pre-mixed drywall compound has a shelf life. Once opened, store it with the lid sealed tightly and keep it away from freezing temperatures.
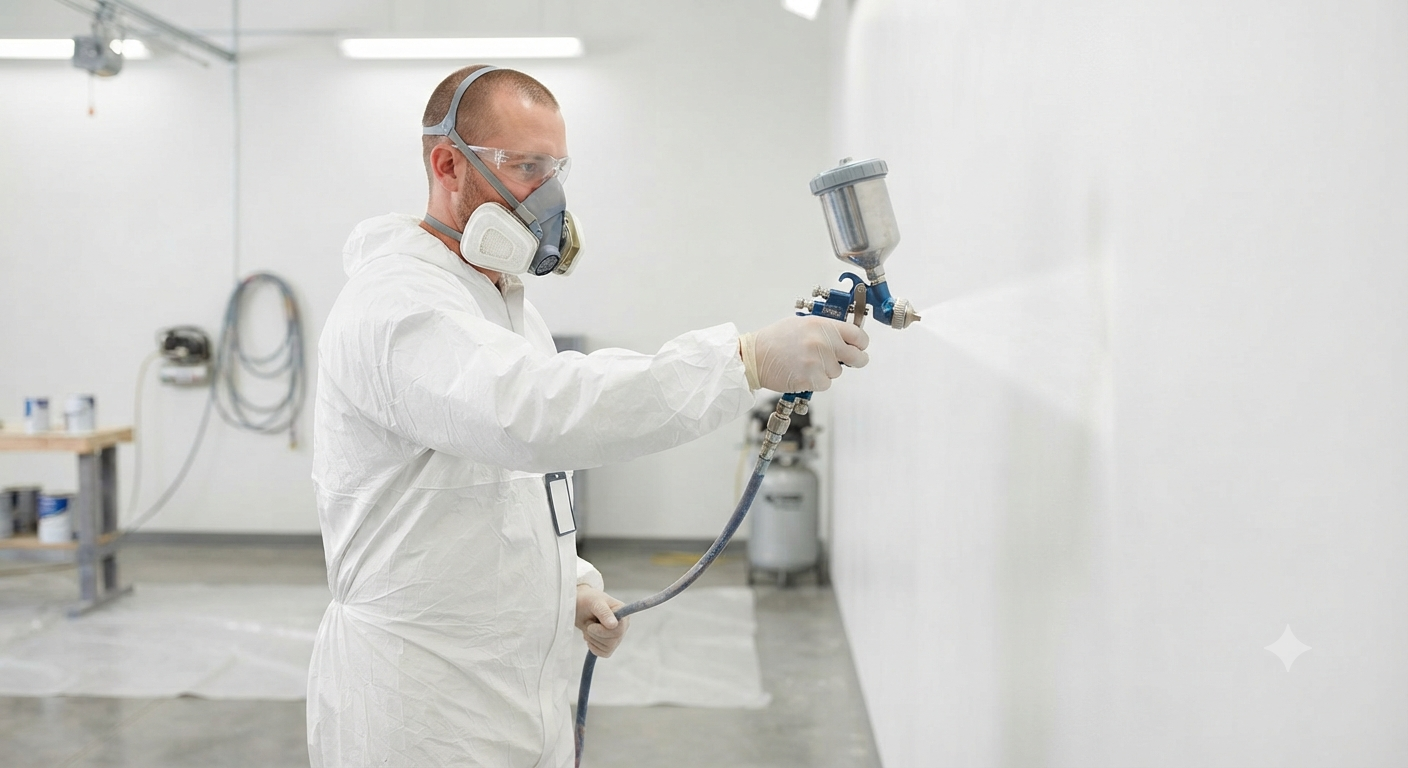
• Sanding drywall compound creates very fine dust. Always wear a dust mask rated for fine particles, and cover floors and furniture before sanding.
• Mesh tape is easier to apply but more prone to cracking over time compared to paper tape. For long-term durability, paper tape embedded in compound is the stronger choice.
• Never add too much water when thinning drywall compound. A consistency similar to thick peanut butter is ideal for most coats.
Can Drywall Dust Cause a Sinus Infection?
Yes, repeated exposure to drywall compound dust can irritate your nasal passages and respiratory tract. The fine gypsum particles produced when sanding drywall compound are small enough to enter your airways and cause irritation, dryness, and inflammation. Over time, this can make you more susceptible to sinus infections, especially if you work in poorly ventilated spaces.
Wearing a proper N95 or P100 dust mask when sanding drywall compound is the most effective protection. Keep windows open and use fans to direct dust away from your face. If you notice prolonged congestion, sinus pain, or breathing issues after working with drywall compound, consult a medical professional.
Professional Drywall Compound Work in Winnipeg
True Coat is a licensed and fully insured painting and decorating company based in Winnipeg, Manitoba. Their team handles everything from skim coating and drywall compound application to full interior painting for residential and commercial clients.
If you have damaged walls, uneven surfaces, or cracks that need professional attention, True Coat provides free estimates and backs all completed work with a 3-year craftsmanship warranty.
You can learn more about their wall repair and finishing work by visiting their completed projects page.
Also worth reading is their guide on the best drywall services in Winnipeg to understand what professional drywall finishing looks like.
Getting the Best Results With Drywall Compound
Using the right drywall compound for each stage of the project, applying it in thin coats, and allowing proper drying time are the foundations of a good wall finish.
Whether you choose all-purpose, lightweight, topping, or setting compound depends on the size, depth, and conditions of your repair. Priming before painting and wearing proper protection when sanding are steps that should never be skipped.
For homeowners in Winnipeg who want professional results without the guesswork, connecting with a skilled team that works with drywall compound daily is a smart move. Contact True Coat for a free, no-obligation estimate on any wall repair or interior finishing project.
Reach out to True Coat through their contact page to get started.
Frequently Asked Questions About Drywall Compound
What does drywall compound do?
Short Answer: It fills joints, seams, holes, and cracks in drywall to create a smooth, paint-ready surface.
Drywall compound bonds drywall tape to joints, covers screw holes, and blends repaired areas into the surrounding wall. It is the product that makes walls look continuous and seamless instead of patchy and jointed. Without it, every seam and fastener would show through paint.
Is there a difference between joint compound and drywall compound?
Short Answer: No. Joint compound and drywall compound are the same product, just referred to by different names.
Both terms describe the same gypsum-based paste used to finish drywall. The terms are used interchangeably in the trade. “Mud” is another common nickname for the same product. The type of drywall compound (all-purpose, lightweight, topping, or setting) is what actually matters when choosing the right product for your job.
What kind of compound is used for drywall?
Short Answer: All-purpose drywall compound is the most common choice for general use, while setting compound works best for deep fills or humid conditions.
For most repairs and finishing work, all-purpose or lightweight drywall compound is the go-to product. For deep holes or cold Winnipeg winters where drying is slow, setting compound (hot mud) provides a faster, harder result. Topping compound is reserved for the final finish coat where a very smooth surface is needed before painting.
Can drywall dust cause a sinus infection?
Short Answer: Yes. Prolonged exposure to fine drywall compound dust can irritate nasal passages and increase the risk of sinus infections.
Sanding drywall compound releases very fine gypsum particles. Breathing these particles without protection can cause nasal dryness, inflammation, and long-term respiratory irritation. Always wear an N95 mask and work in a well-ventilated area when sanding.
Can I paint directly on drywall compound?
Short Answer: You can, but you should not skip priming. Painting directly on drywall compound causes uneven absorption and flashing.
Drywall compound is very porous. Without a primer coat, paint soaks in unevenly, leaving dull or shiny patches once dry. A drywall primer seals the surface so paint goes on uniformly. This step is especially important when drywall compound covers a large portion of the wall.