
How Do You Paint a Wall? A Complete Beginner’s Guide
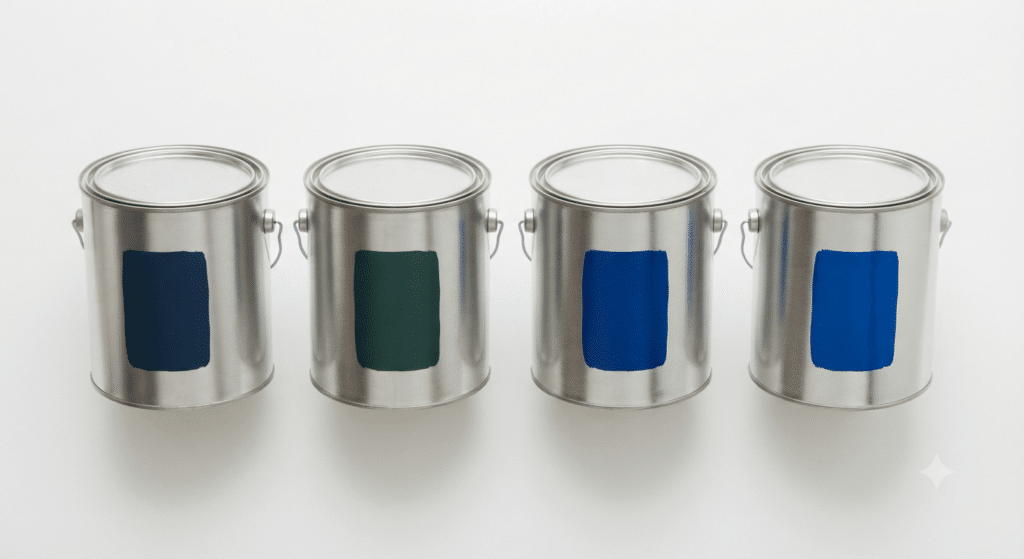
To paint a wall properly, you need to clean and prime the surface, choose the right paint type, and apply it in smooth, even coats using the correct tools. A successful paint wall project starts with surface prep, uses quality latex or water-based paint for most interiors, and follows a top-to-bottom painting order to avoid drips and uneven coverage. Knowing which paint finish works best for each room, how to cut in edges cleanly, and how many coats to apply makes the difference between a result that looks professional and one that peels or streaks within months. Whether you are repainting a bedroom, refreshing a living area, or tackling a first-time paint wall project, the steps covered here will walk you through every stage clearly and simply. What Does It Mean to Paint a Wall? When people say they want to paint a wall, they mean applying a layer of coloured or neutral paint to an interior or exterior wall surface to protect it, refresh its look, or change its colour. A paint wall job is more than just rolling colour onto a surface. It covers filling in cracks, sanding rough spots, priming bare or patched areas, choosing the right sheen, and applying two or more even coats for a smooth finish. The technical term for the coated finish left behind after you paint a wall is called the paint film. This film is what protects the wall from moisture, staining, and everyday wear. Getting that film right means following proper steps from start to finish. What Type of Paint Is Best for Walls? Choosing the right paint before you paint a wall saves you time, money, and extra coats. The two main categories are water-based (latex) and oil-based paint, and each has a specific purpose. Water-Based Paint Water-based or latex paint is the most widely used option when you want to paint a wall indoors. It dries fast, has low odour, cleans up with water, and holds colour well over time. It works well on drywall, plaster, and previously painted surfaces. If you are doing a paint wall project in a bedroom, hallway, or living area, water-based paint is almost always the right call. Oil-Based Paint Oil-based paint creates a harder, more durable finish. It is sometimes used to paint a wall in high-traffic areas or on trim and cabinets where extra toughness is needed. The downside is longer drying time and stronger fumes that require proper ventilation. For most interior walls, water-based paint handles the job better. Paint Finishes Compared The sheen level you choose also affects how the finished paint wall looks and how well it holds up. Here is a quick comparison: Finish Best For Key Benefit Flat / Matte Ceilings, low-traffic rooms Hides imperfections well Eggshell Living rooms, bedrooms Soft glow, easy to clean Satin Hallways, family rooms Durable and washable Semi-Gloss Kitchens, bathrooms, trim Moisture resistant Gloss Doors, cabinets, wood trim Very durable, shiny For most standard paint wall projects indoors, eggshell or satin finish gives the best balance of looks and durability. What Tools Do You Need to Paint a Wall? Using the right tools makes it much easier to paint a wall cleanly and evenly. You do not need a lot of equipment, but skipping key items leads to streaks, uneven coverage, and more cleanup work. If you want to learn more about edge work, our post on residential painting in Winnipeg covers how professionals handle tight corners and tricky areas when they paint a wall. How Do You Paint a Wall Step by Step? Following a clear process is the key to a clean result when you paint a wall. Rushing through prep or skipping primer can cause the paint to peel, crack, or show brush marks within months. Step 1: Prepare the Surface Before you paint a wall, wash it with a mild soap solution to remove dust, grease, and stains. Let it dry fully. Fill any holes or cracks with spackling compound, let it dry, then sand it smooth. For walls with shiny paint already on them, lightly sand the surface so the new paint has something to grip. Step 2: Apply Primer Primer is a must when you paint a wall that is bare, heavily patched, or switching from a dark to a light colour. It creates a uniform base that helps the topcoat stick and look even. Apply one coat of primer, let it dry completely, then lightly sand before painting. Step 3: Tape and Protect Apply painter’s tape along baseboards, window frames, door trim, and the ceiling line. Lay drop cloths on the floor. This step might feel slow, but it saves a lot of time cleaning up edges after you paint a wall. Step 4: Cut In the Edges Use an angled brush to cut in along the ceiling, corners, and trim before rolling. This is the part of how you paint a wall where precision matters most. Work about 2 to 3 inches from the edge and blend into the wet rolled area while it is still wet. Step 5: Roll the Paint Load your roller evenly and start from the top of the wall, working in a W or M pattern to spread paint without heavy streaks. Keep a wet edge as you work across the wall. Apply two coats for even coverage, letting the first coat dry fully before the second. Most latex paint dries in one to two hours before recoating. Things to Know Before You Paint a Wall Here are some practical points that most beginners miss the first time they paint a wall: Which Option Is Best: DIY or Professional Painting? Deciding whether to paint a wall yourself or hire a professional depends on the size of the project, your skill level, and how much time you have. Both options have real advantages. Factor DIY Paint Wall Professional Paint Wall Cost Lower materials cost Higher upfront, better long-term value Time Longer, especially for prep Faster with experienced crew
What Is the Best Exterior Paint for Brick and How Do You Apply It Right?
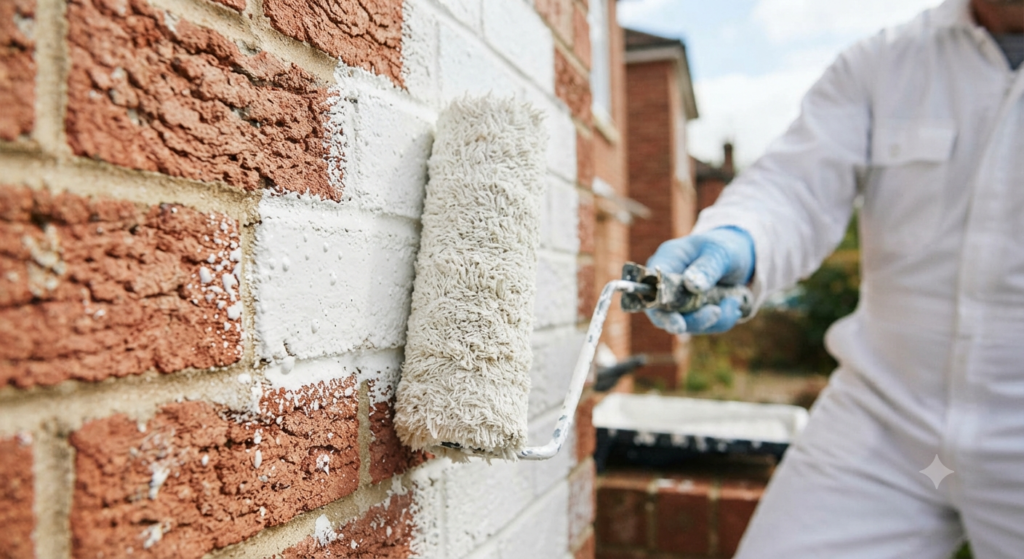
Exterior paint for brick should be 100% acrylic latex — it bonds to porous brick surfaces, allows moisture to escape, and holds up against harsh weather. Choosing the wrong exterior paint for brick can trap moisture inside the wall, cause peeling, and lead to expensive repairs. The right product, applied correctly, can refresh the look of a home and protect the brick for 10 years or more. What Is Exterior Paint for Brick? Exterior paint for brick is a coating specifically designed to stick to masonry surfaces. Standard wall paint is made for smooth drywall or wood and will not hold on brick the same way. Brick is porous, uneven, and expands and contracts with temperature changes. A paint that cannot flex or breathe will crack and peel within a season or two. Acrylic latex paint is the most widely recommended exterior paint for brick because it is water-based, flexible, and breathable. It lets moisture vapor pass through the wall without trapping it, which is the leading cause of paint failure on masonry. Elastomeric coatings are another option — these are much thicker and stretch across cracks, making them useful for older brick with hairline fractures. When shopping for exterior paint for brick, look for labels that say “masonry,” “elastomeric,” or “concrete and brick” on the can. These formulas are built for the texture and movement of masonry walls. Can You Paint Brick with Exterior Paint? Yes, you can paint brick with exterior paint, but not just any formula will work long term. Many homeowners grab standard exterior paint without checking the label, apply it over bare brick, and wonder why it starts peeling within a year or two. Bare brick needs a masonry primer first. The surface is too porous for paint to grip directly without a proper base coat. A masonry primer seals the brick, fills tiny gaps, and gives the topcoat something solid to bond to. Skipping this step is one of the most common mistakes people make when applying exterior paint for brick. Once primed, two coats of a high-quality acrylic latex or elastomeric paint will give you a finish that lasts. Apply each coat when temperatures are between 10 and 30 degrees Celsius and avoid painting in direct sunlight or rain. Which Types of Exterior Paint for Brick Work Best? There are a few main options for exterior paint for brick, and each one has a different purpose. Knowing which type fits your situation will save you time and money. Acrylic Latex Paint This is the most common and practical choice for exterior paint for brick. It cleans up with water, dries fast, stays flexible as temperatures change, and allows the wall to breathe. It comes in a wide range of finishes and colours, making it easy to match your home’s look. For most residential brick projects, this is the best starting point. Elastomeric Coating Elastomeric exterior paint for brick is thicker than standard acrylic. It stretches to bridge small cracks and creates a waterproof barrier. This option is ideal for older brick walls that show minor cracking or for homes in climates with extreme freeze-thaw cycles, like Winnipeg winters. The downside is that it seals the surface more heavily, which means any moisture that does get inside has fewer ways to escape. Mineral-Based Paint Mineral paints, including lime wash and silicate mineral paint, bond chemically to brick rather than sitting on top of it. They are highly breathable and last a very long time. They do not peel the way film-forming paints can. The trade-off is a more textured, weathered finish and a narrower colour range. If you want a natural, old-world look on your exterior brick, this category is worth considering. Paint Type Comparison for Exterior Brick Paint Type Best For Breathability Durability Acrylic Latex Most residential brick High 8 to 12 years Elastomeric Cracked or aged brick Medium 10 to 15 years Mineral / Lime Wash Breathable natural finish Very High 15+ years How to Prepare Brick Before Applying Exterior Paint Surface preparation is the most important part of any brick painting project. Even the best exterior paint for brick will fail fast if the surface is not ready. Here is what proper prep looks like: What Are the Best Colors for Exterior Paint on Brick? Colour choice is one of the most exciting parts of working with exterior paint for brick. Brick already has natural warm tones, and the right exterior paint colour can either lean into that warmth or cool it down for a more modern look. Neutral shades like warm white, greige (grey-beige), soft grey, and charcoal are among the most popular choices for painted brick exteriors. These tones work well against the natural texture of masonry and complement most roof colours, window frames, and landscaping. If your brick has red or orange undertones, warmer neutrals like cream, tan, or muted sage green tend to look more natural. For homes with cooler-toned brick or grey mortar, true greys, whites, and navy tones often give a cleaner finish. A flat or low-sheen finish is usually the best choice for exterior paint for brick. High-gloss finishes highlight every imperfection in the texture. Flat and satin finishes are more forgiving and still hold up well to the elements. You can also learn more about approach to exterior painting for house projects to see how colour and finish work together on the whole exterior. Learn more about best approach to exterior painting for house projects. Things to Know Before Painting Exterior Brick Before you commit to exterior paint for brick, there are a few important things worth knowing so you go in with the right expectations. Painting Brick Is a Permanent Decision Once brick is painted, it is very difficult to reverse. Removing exterior paint for brick requires chemical strippers or sandblasting, both of which can damage the masonry surface. Make sure you are committed to the look before starting. Moisture Is the Enemy Brick walls need to breathe. If water gets