This comprehensive home painting guide covers everything you need to know about painting your house, from picking colors to applying the final coat. Whether you’re doing this for the first time or just want to brush up on your skills, we’ll walk you through the whole process step by step.
Painting your home can feel overwhelming at first. There’s so much to think about – what colors to pick, which paint to buy, how to prep the walls. But here’s the thing: once you break it down into manageable pieces, it becomes much easier. You’ll save money doing it yourself, and there’s something really satisfying about stepping back and seeing a room you just transformed.
Most people jump into painting without understanding the basics, which leads to frustration and poor results. This comprehensive home painting guide will teach you professional techniques, help you avoid costly mistakes, and show you how to achieve results that rival what you’d get from hiring contractors.
Planning Your Home Painting Project
You wouldn’t start cooking dinner without checking what’s in your fridge first, right? Same goes for painting. Planning ahead saves you from those annoying trips to the hardware store in the middle of your project.
Most people think painting is just about slapping some color on the wall, but that’s where they go wrong. The planning phase is where successful projects are born. Skip this step, and you’ll likely end up with patchy coverage, weird color choices, or a project that drags on for months.
Setting Your Timeline
Here’s what most homeowners don’t realize – painting takes way longer than you think. A single room typically needs 2-3 days when you factor in all the prep work, applying multiple coats, and waiting for everything to dry. If you’re tackling the outside of your house, we’re talking weeks, not days.
A realistic timeline for a typical 12×12 bedroom includes:
- Day 1: Prep work including cleaning, patching, and priming (6-8 hours)
- Day 2: First coat application (4-6 hours)
- Day 3: Second coat and touch-ups (3-5 hours)
This doesn’t include drying time between coats, which can extend the project by another day in humid conditions.
Budget Planning
Paint costs can shock you if you’re not prepared. Good quality paint might cost twice as much as the cheap stuff, but it usually covers better and lasts longer.
Here’s a realistic breakdown for painting a 12×12 room with 9-foot ceilings:
- Paint (2 gallons premium): $120-160
- Primer (1 gallon): $35-45
- Brushes and rollers: $40-60
- Drop cloths and tape: $25-35
- Total: $235-325
For exterior projects, multiply these costs by 3-4 times depending on your home’s size.
If you’re feeling overwhelmed by all this planning, the team at TrueCoat Paint can handle the entire project from start to finish.
Interior Home Painting Guide: Room by Room Tips

Interior painting is probably the most dramatic way to change how your home looks and feels. Each room has its own personality and challenges, and understanding these differences is crucial for success.
Every room in your house serves a different purpose and gets used differently, which means your paint choices need to reflect those differences. The paint that works perfectly in your bedroom might fail miserably in your bathroom.
Living Areas and Bedrooms
These rooms give you the most freedom to play with color. Bigger rooms can handle bold, rich colors that might make smaller spaces feel cramped.
For bedrooms, consider the psychological impact of colors:
- Blues and greens: Promote relaxation and better sleep
- Reds and oranges: Can be energizing (might not be ideal for sleep areas)
- Warm whites and creams: Create calming, neutral environments
Color temperature matters more than people realize. Test your paint samples under the actual lighting you’ll use in the room.
Kitchens and Bathrooms
These rooms present unique challenges because they deal with constant moisture, steam, and temperature changes. You can’t just use any paint here – you need formulations specifically designed to handle humidity and frequent cleaning.
Go with semi-gloss or satin finishes in kitchens and bathrooms. They’re much easier to wipe down when they get splattered or steamy. Flat paint soaks up moisture and stains, which is the last thing you want near your stove or shower.
Kitchen painting considerations:
- Use high-quality degreasing cleaner during prep
- Consider adding an extra coat of primer near the stove
- Choose colors that won’t show every little splatter
Bathroom painting essentials:
- Run your exhaust fan during and after painting
- Use paint with antimicrobial additives
- Pay special attention to areas around tub and shower
Color Selection That Makes Sense
Picking colors is where a lot of people freeze up. There are thousands of options, and somehow you’re supposed to know which one will look good on your walls? Let’s make this easier.
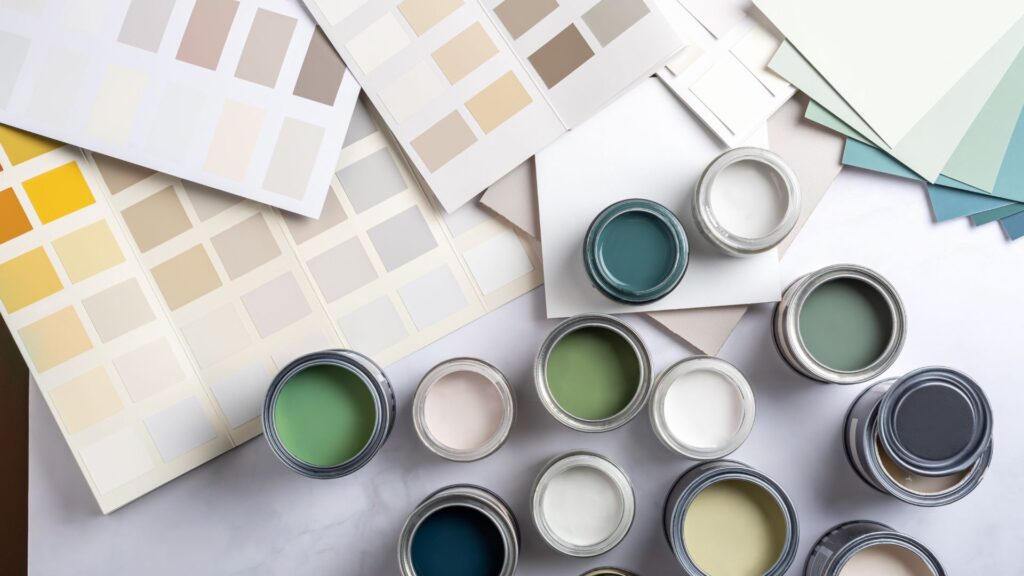
Color selection combines both art and science. Understanding color theory helps, but you also need to consider practical factors like lighting, room size, and how colors make you feel.
Understanding Undertones
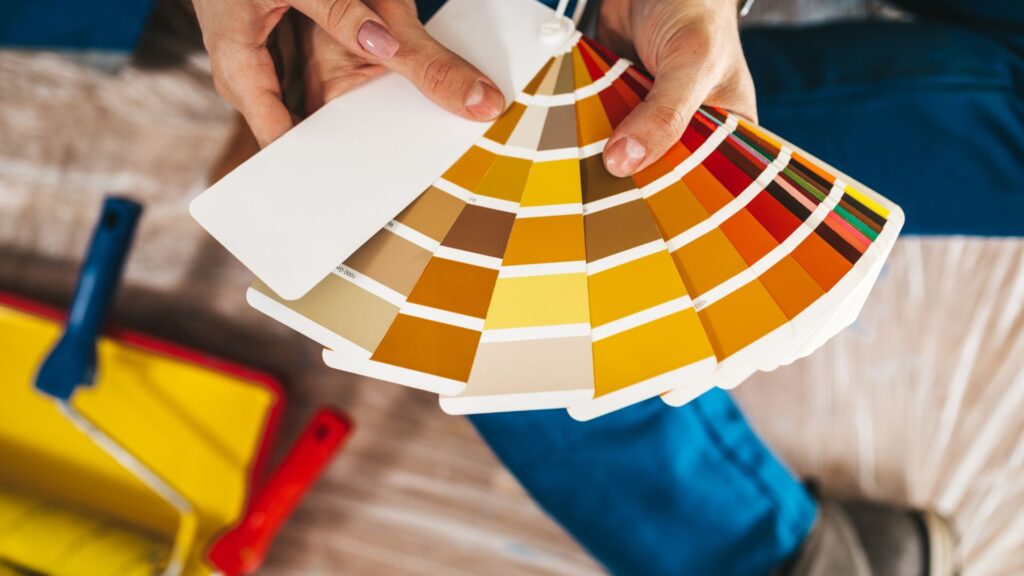
Every paint color has undertones, and these can totally change how the color looks once it’s on your wall. That beige you thought was neutral might have pink undertones that clash with your brown furniture.
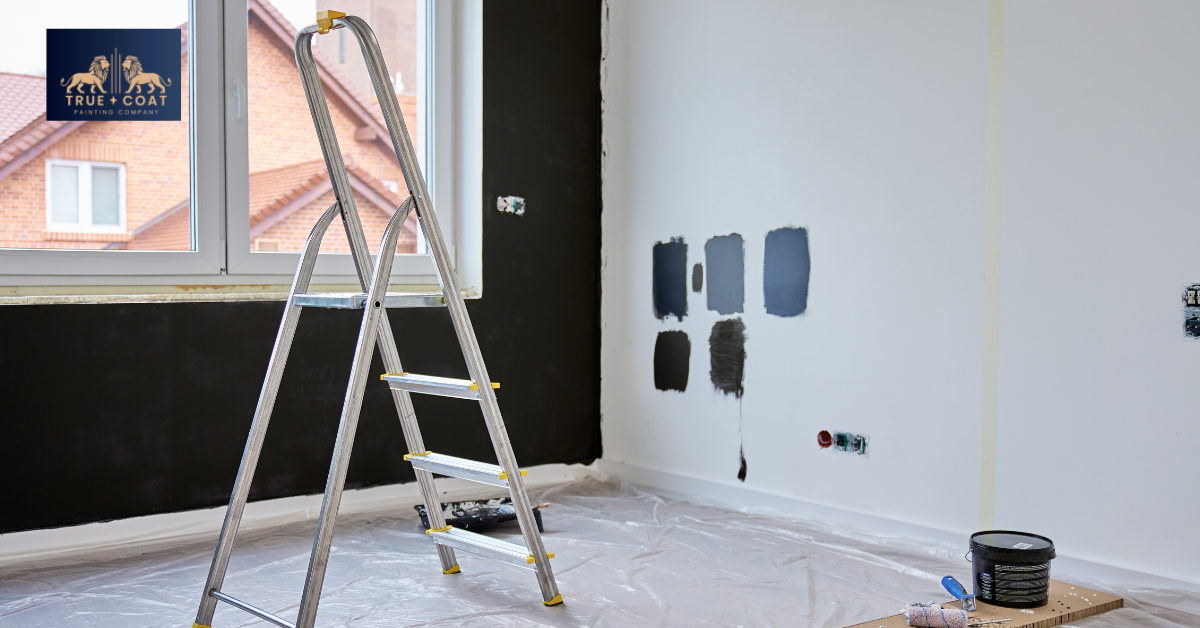
Always test paint samples on your actual walls. Those tiny paint chips at the store don’t tell you much. Paint a decent-sized square and look at it throughout the day. Colors change dramatically from morning to evening light.
Creating Flow Between Rooms
If you have an open floor plan, you can’t just pick random colors for each area. They need to work together or your house will feel choppy and weird.
The 60-30-10 rule works really well:
- 60%: Use your main color for about 60% of the space
- 30%: A secondary color for 30%
- 10%: Save a bold accent color for just 10%
2025 Color Trends
This year, people are gravitating toward earthy, calming colors:
- Warm terracotta and clay tones
- Soft sage and olive greens
- Mushroom and stone grays
- Rich jewel tones for accent walls
With more people working from home, camera-friendly backgrounds are actually influencing color choices. Soft, muted tones look professional on video calls while still feeling cozy in person.
Need help choosing colors that work together? The color experts at TrueCoat Paint can help you create a cohesive color scheme that flows beautifully throughout your home.
Surface Preparation: Why This Step Matters Most
Professional painters spend most of their time on prep work, and there’s a good reason for that. This step determines whether your paint job looks great for years or starts peeling within months.
You can use the most expensive paint in the world, but if you don’t prep properly, it won’t stick. Surface preparation is the foundation of any successful paint job. It’s also the most commonly skipped step in DIY projects, which explains why so many home paint jobs fail prematurely.
Cleaning Walls Properly
Your walls are probably dirtier than you think. Years of cooking grease, smoke, and just everyday living create invisible films that prevent paint from sticking properly.
Use TSP (trisodium phosphate) or a TSP substitute to cut through all that buildup. The cleaning process varies:
- Kitchen walls: Need degreasing with stronger cleaners
- Living room walls: Mild detergent wash usually works
- Bathrooms: Require specialized cleaners for soap scum and mildew
- Smoker homes: Need special cleaners for nicotine stains
Repairing Damage
Every wall has nail holes, dings, and cracks. Under fresh paint, these imperfections look even worse.
Repair techniques by damage type:
- Small nail holes: Lightweight spackling compound
- Larger holes: Mesh patches or fiberglass tape
- Hairline cracks: Paintable caulk or spackling
- Large cracks: Might need professional evaluation
Sand all filled areas smooth once they’re completely dry. Any bumps or ridges will show through your paint.
Primer Application
Modern paints are better than ever, but primer still does important jobs. It blocks stains, gives you a consistent base color, and helps paint stick to tricky surfaces.
Different surfaces need different primers:
- Water stains: Oil-based primer
- Glossy surfaces: Bonding primer
- Dark to light colors: High-hide primer
Exterior Home Painting Guide: Protecting Your Investment
Painting the outside of your house isn’t just about looks – it’s about protecting your biggest investment from weather damage. The challenges are totally different from interior work.
Exterior painting is more complex than interior work because you’re dealing with UV radiation, temperature extremes, moisture, and various building materials all at once.
Understanding Different Siding Materials
Each siding material has unique characteristics that affect paint selection and application techniques.
Wood Siding
Wood moves as temperature and humidity change, which puts stress on the paint film. You need flexible paint that can move with the wood without cracking.
Wood siding requirements:
- Careful moisture management
- Proper priming of all exposed wood
- Special primers for cedar and redwood
- 3-6 month waiting period for pressure-treated lumber
Vinyl and Aluminum Siding
These materials don’t absorb paint the same way wood does, so you need special primers and paints made for non-porous surfaces.
Key considerations:
- Color restrictions for vinyl (dark colors can cause warping)
- Complete removal of chalk on aluminum
- Flexible paints for expansion and contraction
Stucco and Masonry
These textured surfaces are alkaline, especially when they’re new. You need alkali-resistant primer or the paint will fail.
Stucco painting requirements:
- 30-60 day curing time for new stucco
- Thick-nap rollers (3/4″ to 1″) for texture coverage
- 25-50% more paint than smooth surfaces
If exterior painting feels too overwhelming, TrueCoat Paint has the experience and equipment to handle your exterior project safely and efficiently.
Paint Types and Finishes Explained
Modern paint technology offers more options than ever before. The key to successful painting is matching the right paint to the specific conditions and requirements of your project.
Latex vs. Oil-Based Paints
Most people use latex paint these days because it’s easier to work with, dries fast, and doesn’t smell as much. Modern acrylic latex paints are really durable – they flex with temperature changes so they don’t crack and peel as much.
Oil-based paints still excel in specific applications where their unique properties provide advantages. They flow out better, hiding brush marks and creating smooth surfaces.
Choosing the Right Sheen
The shinier the paint, the more durable it is, but it also shows imperfections more easily.
- Flat/Matte: Great for hiding wall imperfections, but shows every scuff mark. Best for ceilings and low-traffic rooms.
- Eggshell: Just a hint of sheen that you can actually clean. Works well in bedrooms and dining rooms.
- Satin: The most popular choice for main living areas. Easy to clean but still looks nice.
- Semi-Gloss: Very easy to clean and moisture-resistant. The go-to choice for trim, doors, and bathrooms.
- Gloss: Maximum durability but shows every flaw. Save it for things that need frequent cleaning.
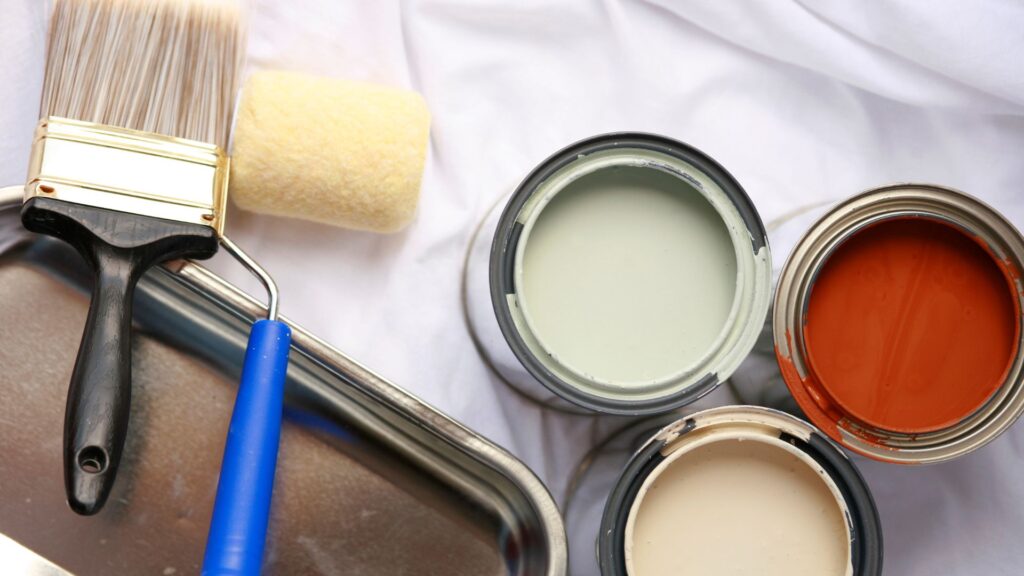
Essential Tools and Equipment
Good tools really do make painting easier and help you get better results. You don’t need to spend a fortune, but cheap tools will frustrate you and show in your final results.
The difference between professional-looking results and obvious DIY work often comes down to the tools used.
Brushes Worth Buying
For latex paint, get synthetic bristle brushes. For oil-based paint, natural bristles work better. Look for brushes with flagged and tipped bristles – they hold more paint and apply it smoother.
Brush selection guide:
- 2-3″ brushes: For walls and large surfaces
- 1-2″ angled brushes: For trim work and cutting in
- Natural bristles: Best with oil-based paints
- Synthetic bristles: Ideal for latex paints
Rollers and Covers
Get a heavy-duty roller frame that won’t wobble while you’re working. Match your roller cover to your surface:
- 1/4″ nap: Very smooth surfaces
- 3/8″ nap: Smooth to lightly textured drywall
- 1/2″ nap: Light texture like orange peel
- 3/4″ nap: Heavy texture like knockdown
Other Essential Equipment
Extension poles let you reach high walls and ceilings without constantly moving a ladder. Canvas drop cloths are reusable and don’t slip around like plastic ones do.
If you don’t want to invest in all these tools, TrueCoat Paint brings professional-grade equipment to every job, ensuring the best possible results.
Professional Techniques You Can Use
Professional painters have tricks that make their work look better and go faster. Understanding proper technique is especially important because paint application mistakes are difficult and expensive to fix once the paint has dried.
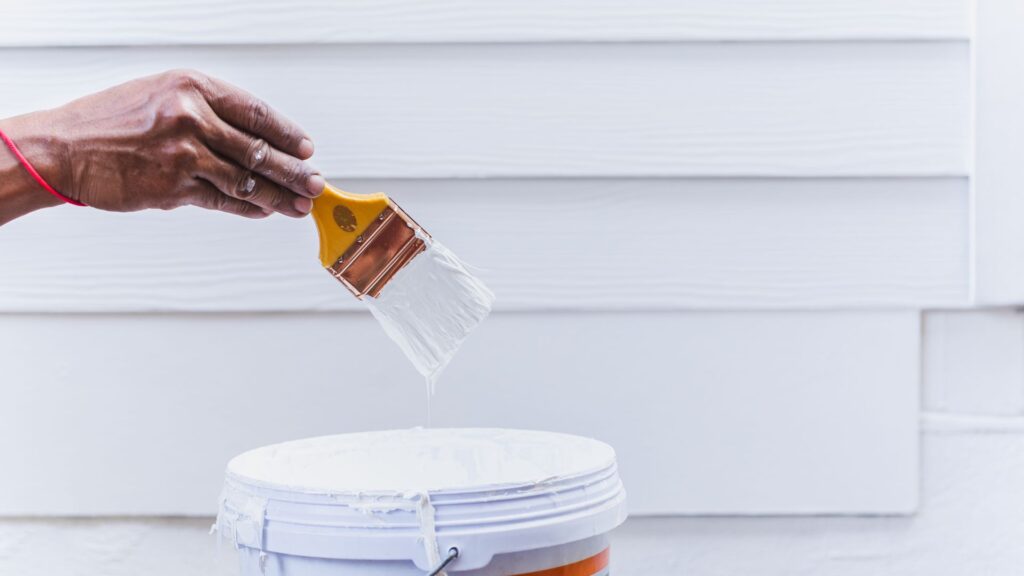
Cutting In Like a Pro
Load your brush about one-third into the paint, tap off the excess, and apply in smooth, steady strokes. The key is maintaining a wet edge – don’t let one section start drying before you paint the adjacent area.
Cutting in fundamentals:
- Practice on scrap surfaces first
- Use your whole arm for long strokes, not just wrist movement
- Hold brush at 45-degree angle for best control
- Work in manageable sections
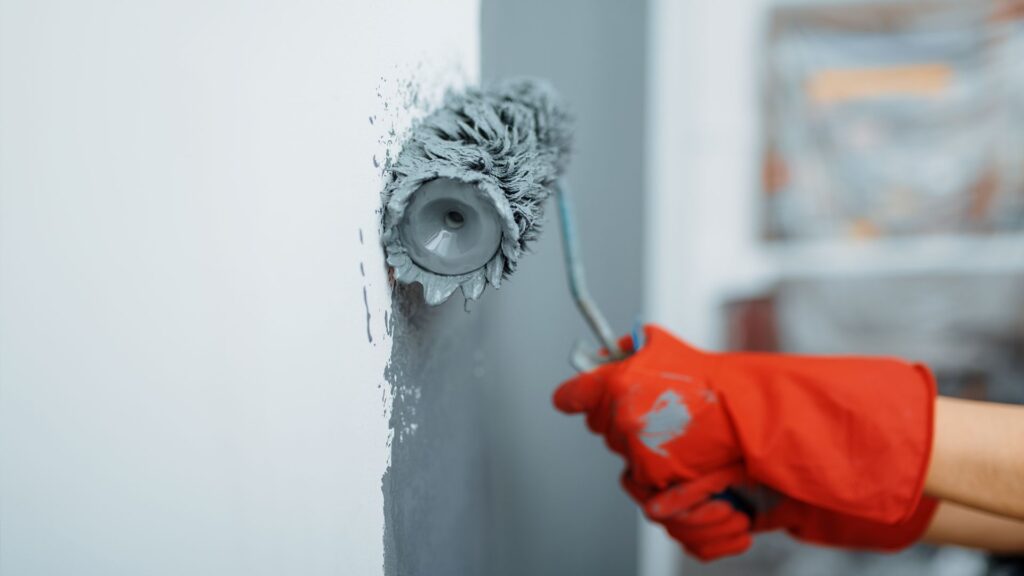
Rolling Techniques
Start with a W pattern to distribute paint evenly, then fill in with parallel strokes. Roll in different directions to work the paint into the surface, then finish with light strokes all going the same direction.
Don’t press too hard on the roller – let it do the work. Pressing too hard squeezes paint out and creates texture problems.
Common Mistakes That Ruin Paint Jobs
Understanding what can go wrong helps you avoid problems that plague many DIY painters. Many of these issues don’t become apparent until after the paint has dried, making prevention much more cost-effective than repair.
Skipping Prep Work
This is the big one. Rushing through surface preparation causes most paint failures. Common shortcuts include:
- Not cleaning surfaces properly
- Failing to scrape loose paint
- Skipping primer on challenging surfaces
- Not filling holes and cracks completely
Using the Wrong Paint
Paint selection affects both immediate results and long-term performance:
- Interior paints outdoors lack UV protection and flexibility
- Flat paints in high-traffic areas show scuffs and are hard to clean
- Wrong bathroom/kitchen paints lead to peeling and mildew
Poor Application Techniques
Thick paint application is a common mistake driven by the desire to finish quickly. However, thick applications don’t cure properly and are more likely to fail. Multiple thin coats always work better than trying to cover everything in one thick coat.
If you’re concerned about making these mistakes, TrueCoat Paint brings decades of experience to every project, helping you avoid costly errors.
When to Call Professional Painters
Some painting projects are beyond what most homeowners should tackle. Understanding when to hire professionals versus attempting DIY work is crucial for both safety and results.
Safety Considerations
Height-related risks are the most serious safety concern for DIY painters. Working above 8-10 feet requires specialized equipment and training that most homeowners don’t possess.
Lead paint regulations require EPA-certified contractors for homes built before 1978. Violations can result in significant fines, and proper safety procedures are essential for health protection.
Complex Surface Issues
Professional expertise is needed for:
- Multiple paint failures requiring diagnosis
- Rotting wood or failing masonry
- Moisture infiltration problems
- Historic preservation requirements
Time and Project Scale
Large projects challenge DIY painters’ ability to maintain consistent technique and color matching. Professional crews can complete in days what might take homeowners weeks or months.
For any project that feels overwhelming, TrueCoat Paint brings decades of experience to residential and commercial painting, handling everything from surface preparation to final cleanup.
Maintaining Your Paint Job
Paint maintenance is one of the most cost-effective ways to extend the life of your paint job and keep your home looking its best. Most paint problems start small and grow over time, making early intervention much more cost-effective than waiting for major failures.
Regular Inspections
Walk around your house twice a year looking for problems:
- Chalking: Powdery residue indicating UV degradation
- Cracking: Can indicate structural movement or moisture issues
- Peeling: Usually starts at edges and high-stress areas
- Mildew: Black or gray spots in humid, shaded areas
Touch-Up Strategies
Save leftover paint for touch-ups. Store it in airtight containers with labels including room name and date. When doing touch-ups, feather the edges into surrounding paint to minimize visible differences.
Proper touch-up technique:
- Clean area thoroughly before applying paint
- Prime bare areas before topcoat
- Use same application method as original work
- Apply thin coats, building coverage gradually
Cleaning and Care
Regular cleaning removes dirt and mildew that can damage paint over time. Use mild soap solutions and soft brushes to avoid damaging the paint surface.
Start with gentlest cleaning method that will be effective. Work from bottom to top when washing to prevent streaking. Rinse thoroughly with clean water after using cleaning products.
For comprehensive maintenance planning, TrueCoat Paint offers maintenance programs that keep your paint looking fresh and extend time between major repainting projects.
Your Complete Home Painting Guide: Next Steps
This comprehensive home painting guide gives you everything you need to tackle your painting project with confidence. Whether you’re refreshing one room or painting your whole house, proper planning, quality materials, and proven techniques will give you results you’ll be proud of for years.
Remember that painting is a skill that improves with practice. Start with smaller projects to build your confidence before taking on complex or large jobs. Each project teaches you something that makes the next one easier.
The key principles for success include understanding that planning serves as the foundation for better material selection and effective preparation. Quality materials and tools make a significant difference in both the painting process and final results. Time management is crucial – most homeowners underestimate the time required, especially for preparation work.
While DIY painting can save money and be really satisfying, some projects are better left to professionals. Safety concerns, complex surface issues, and time constraints can make professional services a smart investment.
For projects beyond your comfort zone or when you need guaranteed professional results, TrueCoat Paint combines decades of experience with premium materials and proven techniques. Their comprehensive services include thorough preparation, expert application, and complete cleanup, giving you beautiful, lasting results while you focus on enjoying your newly transformed space.
Good luck with your painting project, and remember that with patience, practice, and attention to detail, you can achieve results that transform your living space and add lasting value to your home.