A professional painting process guide makes all the difference between a paint job that lasts three years and one that lasts fifteen.
Most homeowners focus on choosing the perfect color, but the real secret to a flawless finish starts long before anyone opens a paint can. Professional painters know that proper prep work accounts for roughly 70% of a successful project, while the actual painting makes up the remaining 30%.
True Coat stands ready to help homeowners and business owners across Winnipeg create elegant spaces and professional painting that last.
Walking through a professional painting process reveals why some paint jobs look magazine-worthy while others start peeling within months. The steps might seem straightforward at first glance, but each phase requires specific techniques, timing, and attention to detail that separate amateur attempts from professional results.
Understanding the Foundation of Quality Paint Work from Professional Painting
The transformation of any space begins with a solid foundation. Paint only performs as well as the surface underneath it, which means skipping preparation steps creates problems that no amount of premium paint can fix.
Surface preparation directly affects how paint bonds to walls, ceilings, and trim. Old paint that’s flaking, walls with grease buildup, or surfaces with dust and debris prevent new paint from forming a proper bond. Think of it like trying to stick a bandage to dirty skin. It might hold for a moment, but it won’t last long.
Temperature and humidity play bigger roles than most people realize. Paint needs specific environmental conditions to cure properly. Too cold, and the paint won’t flow smoothly or dry correctly. Too humid, and moisture gets trapped under the paint film, leading to bubbling and peeling down the road.
Professional painters check these conditions before starting any project. They understand that rushing through prep work to save a few hours costs much more time and money when repairs become necessary later.
Before Starting Professional Painting Do Evaluating Space

Before you touch a paint brush, you need to really look at your space. Every crack, stain, and imperfection tells you what work needs doing. Missing these signs means you’ll deal with bigger problems once the paint goes on.
Professional Painting Identifying Surface Issues and Damage
Walls rarely stay perfect over time. Small cracks appear around door frames. Nail holes dot the surfaces where pictures once hung. Water stains might peek through from old leaks. Each problem needs a different fix.
Hairline cracks often signal normal settling, but wider cracks might mean structural issues that need addressing before any painting begins as Professional Painting. Water stains require investigation because painting over moisture problems just hides them temporarily. The stains will return, sometimes bringing mold along with them.
Peeling or bubbling paint points to adhesion failures from the previous paint job. These areas need complete removal down to bare drywall or plaster. Leaving them and painting over creates a lumpy, unprofessional finish that highlights rather than hides the problem.
Glossy surfaces present their own challenges. Paint struggles to stick to shiny finishes without proper preparation. Kitchens and bathrooms often have these surfaces because previous owners wanted easy-to-clean walls. Now those same walls need roughing up before new paint will stick.
Professional Painting Assessing Paint Type and Compatibility
Not all paints work well together. Latex paint over oil-based paint without proper prep leads to widespread peeling. Oil-based paint applied directly over latex can work, but it requires specific primers and techniques.
Testing existing paint takes seconds. Rubbing a cotton ball soaked in rubbing alcohol on the wall reveals the paint type. If color transfers to the cotton, the paint is latex. No color transfer means oil-based paint underneath.
Knowing the existing paint type guides every decision moving forward. It determines which primers to use, whether sanding becomes necessary, and how many coats the final job might require. Missing this step causes headaches that proper testing prevents.
The Complete Painting Preparation Guide for Surface Prep
Surface preparation separates professional results from disappointing amateur attempts. This phase takes longer than the actual painting, but cutting corners here guarantees problems later. Getting your surfaces ready means doing several tasks in the right order with the right techniques.
Professional Painting Clearing and Protecting the Room
Empty rooms paint faster and better than furnished ones. Moving everything out means you’re not constantly dancing around furniture and reduces the chance of paint splatters on belongings. When moving everything proves impossible, group furniture in the center of the room and cover it completely.
Drop cloths matter more than people think. Plastic sheets seem cheaper, but canvas drop cloths actually protect better because they absorb spills instead of spreading them around with every footstep. Professional painters use canvas for floors and plastic only for large furniture pieces that need complete coverage.
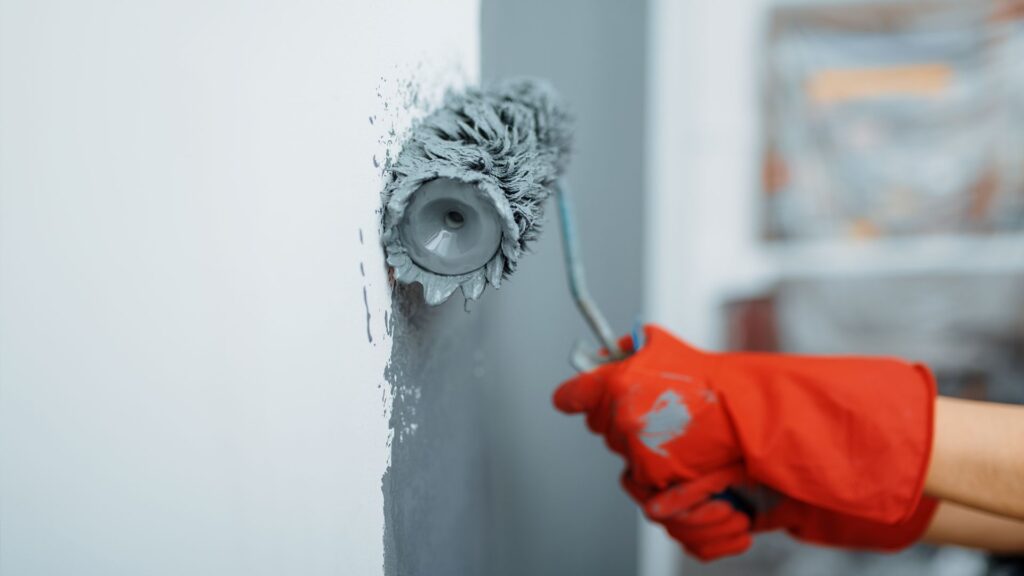
Remove switch plates, outlet covers, and light fixtures. Taping them off seems faster, but paint still seeps underneath, creating messy edges that look sloppy. Unscrewing a few plates takes minutes and produces much cleaner results.
Door hardware gets the same treatment. Taking off knobs, hinges, and strike plates before painting means no careful brushwork around metal parts. The paint goes on faster, looks better, and hardware stays free of accidental splatters.
Professional Painting Cleaning Walls and Surfaces Thoroughly
Clean walls accept paint better than dirty ones. Grease, dust, cobwebs, and general grime create a barrier between paint and wall surface. That barrier prevents proper adhesion and leads to early paint failure.
Kitchen walls need extra attention because cooking splatters leave oily residue that repels water-based paints. A mixture of warm water and trisodium phosphate (TSP) cuts through this grease effectively. Regular dish soap works for lighter cleaning jobs, but TSP handles heavy buildup better.
Bathroom walls collect soap scum and moisture-related residue. These need thorough cleaning and complete drying before painting starts. Painting over damp walls traps moisture that eventually causes paint to peel and bubble.
Ceilings collect dust and cobwebs that most people ignore until painting time. A quick pass with a vacuum extension removes loose debris. Following up with a damp cloth catches anything the vacuum missed.
Baseboards and trim accumulate dust and dirt right where they meet the wall. This junction needs special attention because it’s highly visible once fresh paint goes on the walls. A damp cloth run along these edges prevents dark buildup from showing through new paint.
Repairing Cracks, Holes, and Imperfections
Patching holes properly requires more than just smearing spackling compound in the void. Small nail holes need filling slightly proud of the wall surface because the compound shrinks as it dries. Overfilling slightly and sanding flush after drying creates smooth, invisible repairs.
Larger holes need different treatment. Anything bigger than a half dollar requires backing before applying joint compound. Mesh patches or paper tape provide this backing and prevent the compound from crumbling into the hole.
Cracks require a bit more work. Simply filling them with compound leads to the crack reappearing through the new paint within months. Proper crack repair involves cutting a small V-groove along the crack, filling with flexible compound, applying mesh tape, and feathering additional compound over the tape. This process takes more time but prevents the crack from returning.
Corners often develop small separations where walls meet ceilings or where two walls join. These cracks need flexible caulk rather than rigid joint compound. Caulk moves with the building’s natural settling while compound cracks under stress.
Skim coating covers walls with minor surface damage or texture that needs smoothing. This technique involves applying a thin layer of joint compound across entire wall sections. It requires skill to get smooth results, but it transforms rough walls into perfect painting surfaces.
All repairs need complete drying before sanding. Rushing this step by sanding damp compound clogs sandpaper and creates rough spots. Waiting for complete drying, which usually takes 24 hours for significant repairs, allows proper sanding that creates truly smooth surfaces.
Sanding for Optimal Paint Adhesion
Professional Painting Sanding serves two purposes in a painting preparation guide. It smooths repaired areas to match surrounding surfaces, and it roughens glossy finishes so new paint can grip properly.
Different surfaces need different grits of sandpaper. Rough repairs start with 120-grit paper to knock down high spots quickly. Finishing with 220-grit creates smooth surfaces ready for primer. Glossy surfaces that need roughening work well with 150-grit paper, which removes shine without creating deep scratches.
Sanding painted walls might seem weird, but it improves paint adhesion significantly. A light sanding with 220-grit paper removes minor imperfections, smooths out brush marks from previous paint jobs, and creates tiny scratches that help new paint bond better.
Trim work often has multiple layers of old paint creating drips and buildup. Sanding these smooth before repainting prevents lumpy edges that look unprofessional. It takes patience, but the results justify the effort.
Dust removal after sanding becomes critical. Paint applied over sanding dust looks gritty and feels rough to the touch. Vacuuming walls with a brush attachment removes most dust. Following with a tack cloth or damp rag catches remaining particles.
Professional Painting Proper Priming Techniques
Primer might seem like an unnecessary expense, but skipping it causes more problems than it prevents. This layer between bare surface and finish paint serves multiple purposes that directly affect the final result. Understanding primer selection and application helps you get the most from this important step.
Selecting the Right Primer
Different surfaces need different primers. Bare drywall requires a specific primer-sealer that prevents the porous surface from absorbing too much paint. Wood needs primers that prevent tannins from bleeding through and staining light-colored topcoats.
Stain-blocking primers handle water stains, smoke damage, and marker scribbles that would otherwise show through multiple coats of regular paint. These specialized primers contain powerful sealers that lock stains beneath an impermeable layer.
Previously painted surfaces in good condition might not need primer at all, but dramatic color changes benefit from it. Going from dark red to pale yellow without primer requires four or five coats of paint. One coat of tinted primer followed by two coats of finish paint gets the same coverage with less work and expense.
Adhesion primers help paint stick to challenging surfaces like glossy enamel or semi-gloss finishes. These primers contain bonding agents that grab onto slick surfaces and provide tooth for topcoats to grip.
Application Methods for Even Coverage
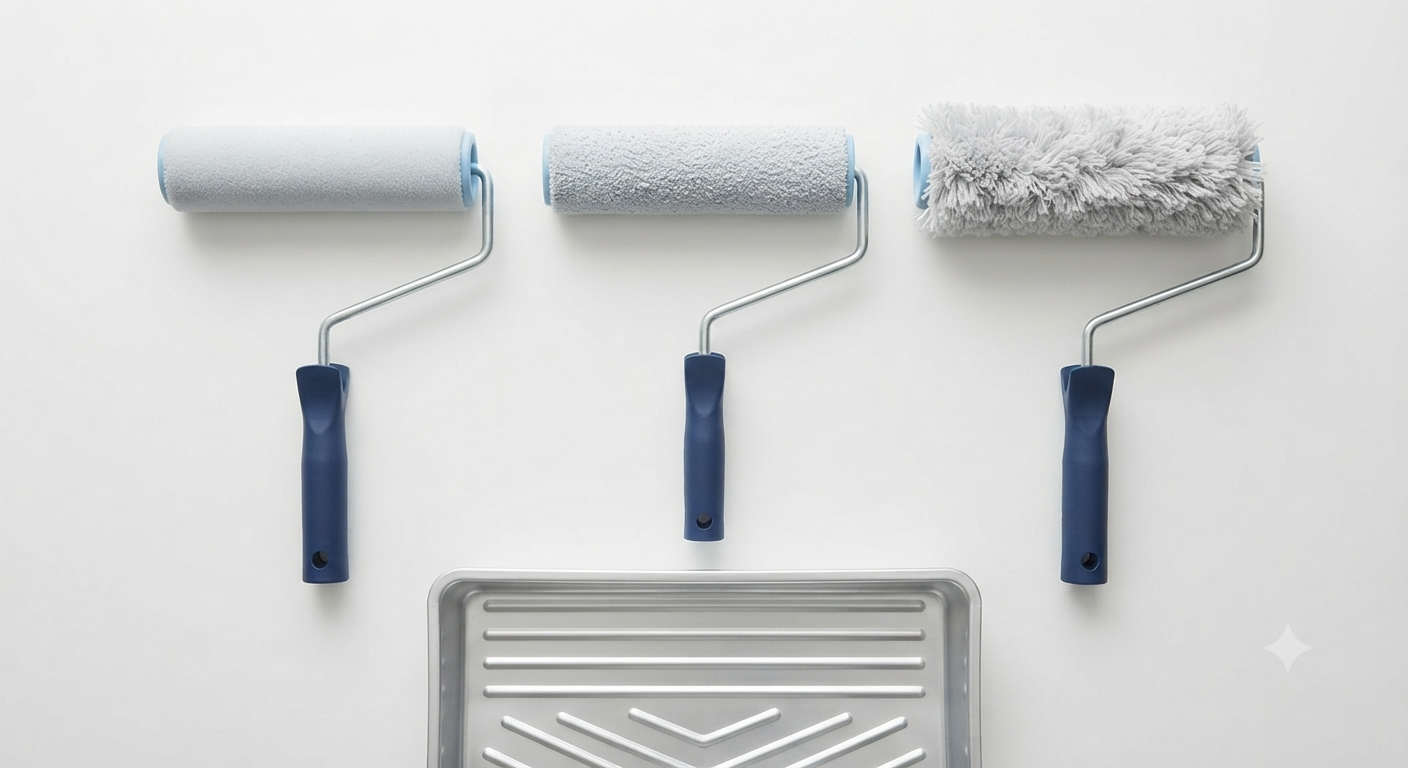
Primer application technique affects coverage and results. Rolling primer works well for large, open wall areas. Using a thick-nap roller covers textured surfaces better than thin rollers designed for smooth walls.
Brushing becomes necessary around edges, corners, and trim. A process called cutting in creates straight lines where walls meet ceilings or where different colors join. This technique requires a steady hand and good-quality brushes that hold enough primer to flow smoothly without dripping.
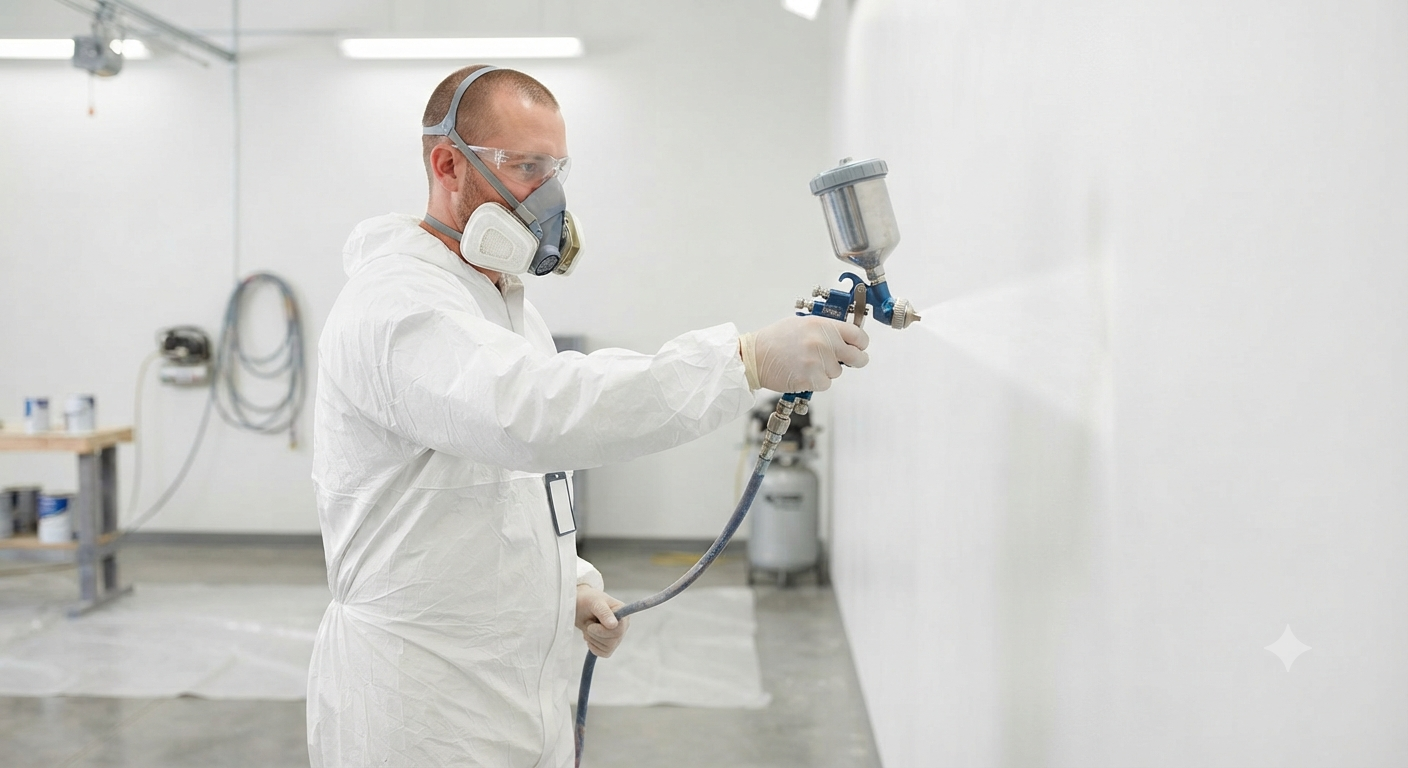
Spraying primer covers large areas quickly and reaches into textured surfaces better than rolling. However, it requires proper equipment, overspray protection, and ventilation. Most residential projects stick with rolling and brushing because the setup time for spraying exceeds the time saved on smaller jobs.
Primer needs complete drying before topcoats go on. Rushing this step prevents the primer from forming a proper seal. Most primers dry to the touch within an hour, but full curing takes longer. Following manufacturer recommendations for recoat times prevents problems.
Masking and Taping for Clean Lines
Getting clean, sharp lines between colors separates okay paint jobs from professional ones. Painter’s tape seems simple enough, but using it correctly makes all the difference. The right tape applied properly creates razor-sharp lines between colors. The wrong tape or poor technique leads to bleeding, peeling, and fuzzy edges.
Blue painter’s tape works for most interior jobs. It sticks well enough to prevent paint seepage but removes cleanly without damaging surfaces underneath. Green tape designed for delicate surfaces protects wallpaper and freshly painted areas that need adjacent sections painted different colors.
Tape application technique matters more than most people realize. Pressing the tape edge firmly against the surface seals it and prevents paint from sneaking underneath. Using a putty knife or credit card to burnish the edge creates an even better seal.
Removing tape at the right time produces the cleanest lines. Waiting until paint fully dries risks peeling paint off along with the tape. Pulling tape while paint remains slightly tacky creates crisp edges because the paint film hasn’t hardened enough to bond with dried paint beyond the tape line.
Pulling tape at a 45-degree angle away from the painted surface prevents paint from lifting. Fast removal works better than slow peeling because it breaks the paint film cleanly rather than stretching it. Any small imperfections along the edge get touched up easily with a small brush.
Paint Selection and Mixing
Choosing paint involves more than picking pretty colors from sample chips. The type of paint, its finish, and quality level all affect how well it performs and how long it lasts. Making smart choices here saves you money and headaches down the road.
Understanding Paint Finishes
Flat paint hides wall imperfections better than any other finish. It scatters light rather than reflecting it, which makes minor bumps and patches less visible. However, flat paint also shows dirt and scuffs easily and resists cleaning poorly compared to shinier finishes.
Eggshell and satin finishes provide middle ground between flat and glossy. They hide imperfections reasonably well while offering better durability and cleanability. These finishes work well in living rooms, dining rooms, and bedrooms where walls need occasional cleaning but don’t face heavy wear.
Semi-gloss paint stands up to moisture, scrubbing, and frequent cleaning. Kitchens, bathrooms, and trim benefit from this finish because it repels water and wipes clean easily. The shine highlights surface imperfections, so walls need thorough preparation before application.
High-gloss paint creates a hard, shiny surface similar to furniture lacquer. It’s extremely durable and very easy to clean but shows every tiny flaw in the surface underneath. Most residential projects use high-gloss only on doors, cabinets, and occasionally on trim.
Calculating Paint Quantities
Running out of paint mid-project causes more problems than just an extra trip to the store. Different batches of the same color can vary slightly, creating visible differences on walls. Buying enough paint from the start prevents this issue.
Paint coverage varies with surface texture and porosity. Smooth, previously painted walls might get 400 square feet per gallon. Rough, textured surfaces or bare drywall might only stretch to 250 square feet per gallon. Checking coverage rates on paint cans provides better estimates than generic calculations.
Room measurement involves more than just multiplying length by width. Adding together the length of all walls and multiplying by ceiling height gives total wall area. Subtracting window and door areas refines the estimate. Most professionals round up slightly to account for waste and touch-ups.
Ceilings and trim need separate calculations. Ceiling area equals length times width. Trim measurement involves running a tape measure around all doors, windows, and baseboards, then estimating coverage based on trim width.
Applying Paint Like a Professional
Paint application technique separates average results from professional finishes. The same paint applied with proper methods looks dramatically better than careless application. Learning the right way to apply paint saves time and materials while producing better results.
First Coat Application in Professional Painting
Starting with a plan prevents obvious mistakes. Professional painting start from top to bottom prevents drips from landing on finished areas. Beginning with ceilings, moving to walls, and finishing with trim follows the natural work flow that produces the best results.
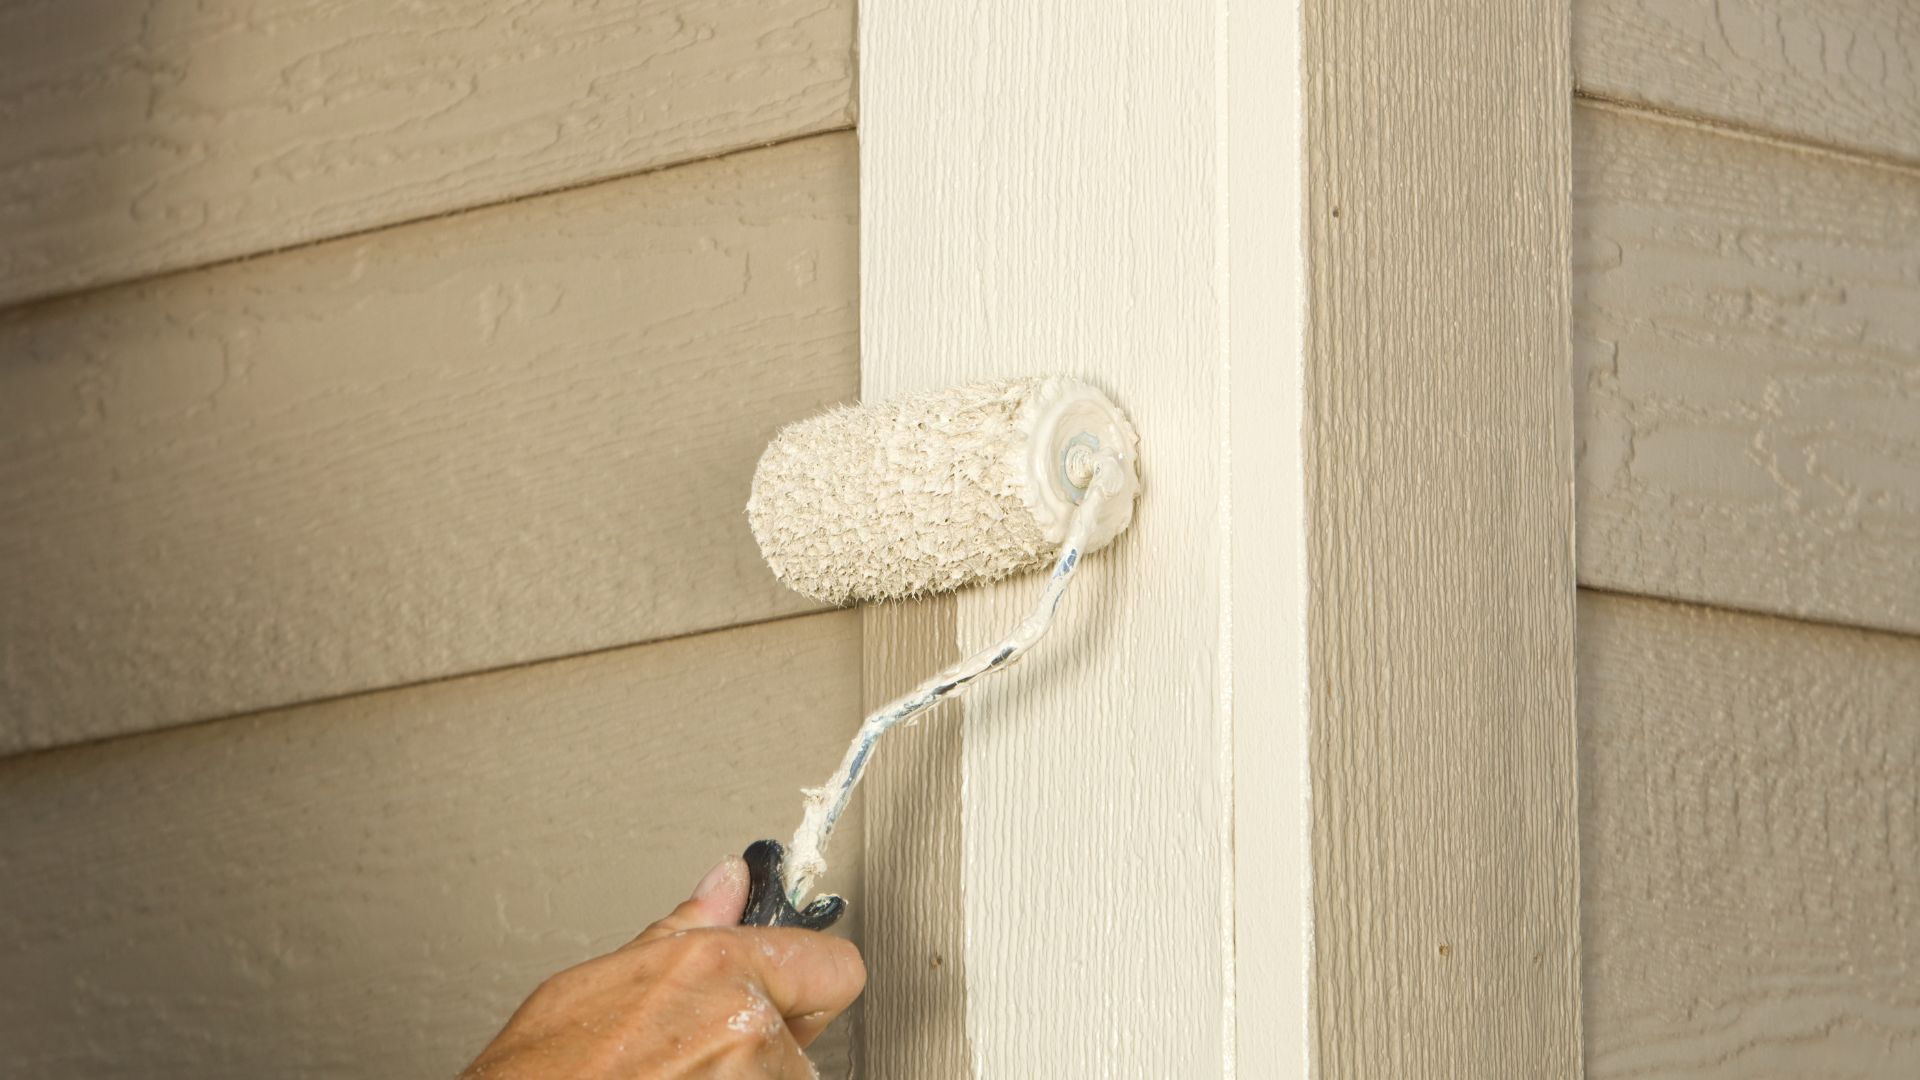
Cutting in comes first. Brushing paint along edges where rollers can’t reach creates clean lines and prevents the need for careful rolling near these areas. Loading the brush properly, with paint covering about one-third of the bristle length, provides enough paint to flow smoothly without dripping.
Rolling technique affects coverage and texture. Loading the roller with paint requires rolling it back and forth in the pan tray until the nap holds paint evenly throughout. Too much paint drips and runs. Too little paint leaves thin spots that need additional coats.
Working in sections prevents lap marks where wet paint meets dried paint. Rolling out a three-by-three-foot section completely before moving to the adjacent area maintains a wet edge that blends seamlessly. Random rolling patterns, like W or M shapes, distribute paint evenly and prevent visible roller marks.
Proper roller pressure matters. Pushing too hard squeezes paint out too quickly and leaves thin coverage. Too light pressure doesn’t transfer enough paint to the wall. Medium pressure that slightly compresses the roller nap provides even coverage.
Second Coat Considerations in Professional Painting
Most paint jobs need two coats for proper coverage and durability as professional painting. The first coat seals the surface and provides base color. The second coat builds color depth and creates a uniform finish.
Waiting for complete drying between coats prevents problems. Paint that looks dry might still be curing underneath. Applying a second coat too soon can lift or smudge the first coat, creating marks that show through the final finish.
Second coat application often reveals imperfections missed during prep work. Small dents, patches that weren’t sanded smooth, or areas that need touch-up become obvious under fresh paint. Fixing these issues between coats produces better results than trying to hide them under additional paint.
The second coat often goes on easier than the first because it’s covering sealed, uniform surfaces rather than bare, porous ones. This coat typically requires less paint and flows more smoothly, making application faster.
Finishing Touches and Clean-Up
The final details determine whether a paint job looks merely good or truly professional. Small touches made at the end elevate the entire project. Getting these last steps right makes all the previous work shine.
Touch-ups happen after everything dries completely. Small spots missed during rolling or areas where tape pulled off a bit of paint get addressed with a small brush. Using light, feathering strokes blends these spots into surrounding areas better than dabbing paint directly on the spot.
Inspecting the work under different lighting reveals issues that artificial light alone might miss. Natural daylight shows colors more accurately and highlights any missed spots or uneven coverage. Making these final corrections while paint and equipment are still out saves time later.
Cleaning brushes and rollers properly extends their life significantly. Water-based paints wash out with soap and water. Rinsing until water runs clear prevents paint buildup that ruins brushes. Oil-based paints need mineral spirits for cleaning, followed by soap and water to remove the solvent.
Proper paint storage keeps leftover paint usable for future touch-ups. Transferring small amounts to smaller containers reduces air exposure that causes paint to dry out and skin over. Labeling containers with the room and date painted helps identify the right color months or years later.
Common Mistakes and How to Avoid Them
Learning from others’ mistakes costs less than making them yourself. Professional painters see the same errors repeatedly from do-it-yourself projects and even from inexperienced professionals. Understanding these common pitfalls helps you avoid them.
Skipping surface preparation tops the list of common mistakes. The temptation to start painting immediately costs time and money when paint fails prematurely. Following a thorough painting preparation guide prevents these failures.
Using cheap brushes and rollers seems like smart economizing but produces frustrating results. Budget tools shed bristles, leave fuzzy roller marks, and don’t hold paint properly. Mid-grade tools cost a bit more but work dramatically better and last through multiple projects.
Inadequate ventilation during painting causes slow drying, fume buildup, and curing problems. Opening windows and running fans moves air through the space, helping paint dry properly and making the environment safer to work in.
Painting in poor conditions leads to problems. Temperature extremes affect how paint flows and dries. High humidity prevents proper curing. Direct sunlight on exterior surfaces causes paint to dry too quickly, preventing proper leveling and adhesion.
Professional Results Through Proper Technique as Professional Painting
Following a complete painting preparation guide transforms average paint jobs into Professional Painting results. Each step builds on previous ones, creating a foundation for paint that looks beautiful and lasts for years.
The difference between amateur and professional work often comes down to patience and attention to detail. Rushing through preparation, skipping steps, or applying paint carelessly produces results that look fine initially but fail quickly.
Professional painters succeed because they understand how paint works, how surfaces need preparation, and how proper technique affects the final result. They know which shortcuts work and which ones cause problems. Most importantly, they invest time in preparation because experience taught them that doing it right the first time costs less than fixing mistakes later.
Understanding why each step matters helps even first-time painters get professional results. Surface preparation, proper priming, quality materials, and careful application all contribute to finishes that transform spaces and last for years. The process requires time and effort, but the results justify both.