
What Is a Paint Roller Handle and How Do You Choose the Right One?
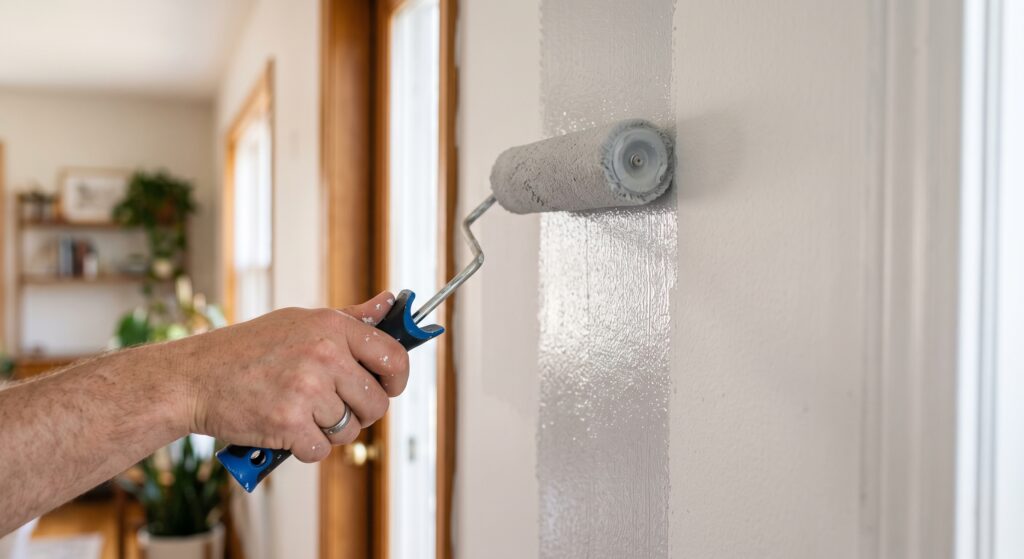
Choosing the right type of paint roller is one of the most overlooked decisions in any painting project, and it has a direct impact on finish quality, coverage speed, and how many coats you need. Short nap rollers are best for smooth walls, medium nap works on standard drywall, and thick nap handles rough or textured surfaces. This post covers every roller type by nap, material, and size, how to use one properly, the most common mistakes, and when it makes more sense to call a professional. What Is a Paint Roller and How Does It Work? A paint roller is a cylindrical painting tool made up of a metal or plastic frame and a removable fabric sleeve called a cover or nap. Y ou load the cover with paint by rolling it across a paint tray, then apply it to the surface using back-and-forth or W-shaped strokes. The main advantage over a brush is speed. A roller can cover a square metre in seconds, making it the go-to tool for walls, ceilings, and floors. The nap absorbs paint and releases it evenly as you roll, which reduces streaks when used correctly. Rollers come in a range of widths, frame sizes, and cover materials. Each combination suits a different job, and using the wrong one often means extra coats, roller marks, or wasted paint. Does the Type of Paint Roller Actually Make a Difference? Yes, and the difference is significant. Compared to a brush, a roller applies paint far more evenly across flat surfaces, cuts application time in half or more, and delivers a consistent texture. Brushes are better for trim and tight corners, but for large open areas, a roller wins every time. The type of paint roller also affects how the finished surface looks. A low-nap roller on a smooth wall leaves an almost seamless finish, while a high-nap roller on the same wall can leave a heavy stippled texture that looks uneven once dry. Getting this match right is just as important as choosing the right paint colour. Types of Paint Rollers and What Each One Is Best For Not all rollers are built the same. The cover material and nap thickness determine how much paint is held, how it releases, and what texture gets left behind. Nap Thickness: How to Choose Nap thickness is the single biggest factor when picking a type of paint roller for a specific surface. Thinner nap holds less paint and leaves a smoother finish. Thicker nap holds more paint and gets into the grooves of rough surfaces where a thin cover would just skim the top. Nap Size Best Surface Finish Result 6mm (1/4 inch) Very smooth walls, ceilings, metal Ultra-smooth, minimal texture 10mm (3/8 inch) Standard drywall, light orange peel Smooth with slight texture 13mm (1/2 inch) Semi-rough surfaces, wood siding Medium texture 19mm (3/4 inch) Rough stucco, brick, cinder block Heavy texture, full coverage Cover Material Options Synthetic fibers — polyester or nylon blends — work well with latex and water-based paints. They hold their shape through multiple uses and clean up easily. Natural fibers like lambswool or mohair are traditionally used with oil-based paints because they absorb and release thick paint smoothly without matting down. Foam rollers are the right pick for very smooth surfaces where you want zero texture, like cabinets or furniture, but they can leave air bubbles if overloaded. Which Type of Paint Roller Size Should You Use? Roller width matters for efficiency and control. Standard sizes run from 4 inches to 18 inches wide, and the right choice depends entirely on what you are covering. Roller Width Best Use 4–6 inches Trim, narrow spaces, accent walls 9 inches Standard walls and ceilings indoors 12–14 inches Large flat walls, floors, commercial spaces 18 inches Wide open surfaces, gymnasium floors, large exteriors A 9-inch roller is the most common choice for residential interior work. It covers enough area per stroke to stay efficient without becoming hard to control. For most Winnipeg homeowners tackling a living room or bedroom, a 9-inch roller with a 10mm to 13mm nap is a solid starting point. How to Use a Paint Roller Properly Using a roller correctly prevents lap marks, uneven coverage, and wasted paint. These steps apply regardless of which type you are using. Step-by-Step Roller Technique Always paint wet edge to wet edge. If one section dries before you connect the next, you will see a visible line in the finish. Common Paint Roller Mistakes and How to Fix Them Even experienced painters run into roller issues. Knowing the cause makes them easy to fix. Roller Marks and Lines Usually caused by pressing too hard or using a dry cover. Keep consistent pressure and reload before the cover runs out completely. Heavy Stippling or Texture This happens when the nap is too thick for a smooth surface. It is one of the most common errors when picking the wrong type of paint roller for the job. Switch to a shorter nap and the texture will even out. Drips and Runs These come from overloading the tray and not rolling out excess paint before hitting the wall. Keep the roller moving and avoid stopping mid-stroke. Lint From New Covers Before using a new roller, wrap it with tape and peel it off a few times to remove loose fibers, or rinse it under water first. This is especially important when using a lint-prone type on dark or semi-gloss finishes. Things To Know Before Buying a Paint Roller Cheap roller covers shed fibers into your paint film and are hard to reload evenly. A mid-range or quality cover pays for itself in fewer touch-ups. The type of paint roller cover you buy matters as much as the brand of paint on your wall. When to Call a Professional Instead A paint roller is simple to use, but results depend heavily on surface preparation, the right materials, and technique. Uneven walls, peeling old paint, water damage, or hard-to-reach exterior areas