How Do You Get a Clean Finish When Painting Popcorn Ceiling?
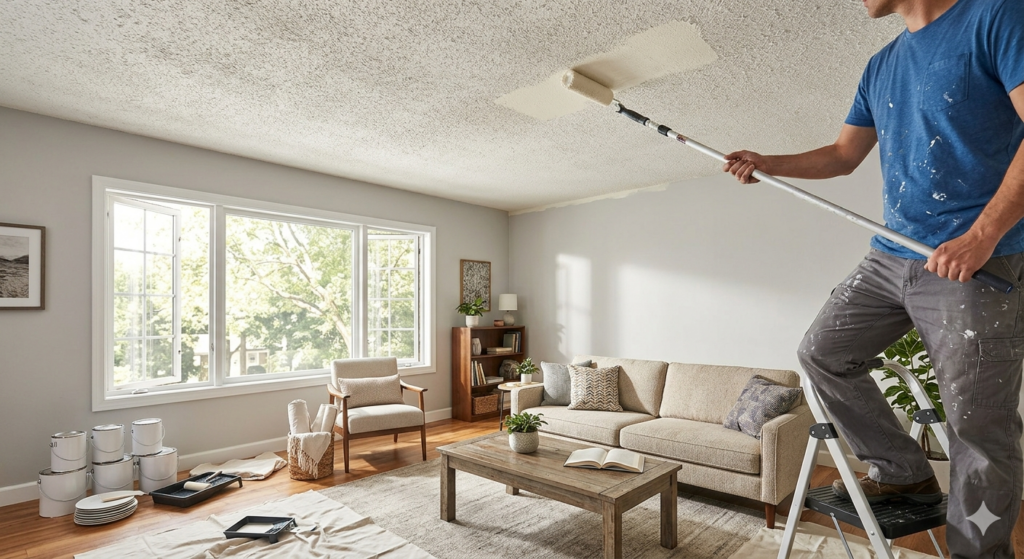
Painting popcorn ceiling is completely doable when you use the right paint, tools, and preparation steps. Flat or matte latex ceiling paint works best because it grips the bumpy texture without dripping or cracking. Before applying any paint, you need to prime the surface, protect your floors and walls, and pick a roller with at least a 3/4-inch nap. Whether your goal is a brighter white or just refreshing a yellowed surface, the technique and product choices you make directly affect the final look. What Is a Popcorn Ceiling and Why Is Painting Popcorn Ceiling a Challenge? A popcorn ceiling, also known as a stipple or acoustic ceiling, has a bumpy textured surface that was common in Canadian homes built between the 1950s and 1990s. It was sprayed on to reduce echo and hide drywall imperfections. The challenge with painting popcorn ceiling is that the rough surface absorbs much more paint than a smooth wall. Using too much water or the wrong consistency of paint can actually loosen the texture and cause chunks to fall off mid-stroke. Thin paint pools in the valleys of the texture rather than coating the peaks evenly, leaving a patchy result. Despite these hurdles, painting popcorn ceiling remains one of the most affordable ways to freshen up a room without tearing out the ceiling entirely. What Kind of Paint Do You Use on Popcorn Ceilings? The right paint makes or breaks a painting popcorn ceiling project. Here is what to look for: Finish: Always choose flat or matte. Sheen finishes like eggshell or satin catch light and emphasize every bump. A flat finish hides imperfections and looks uniform. Consistency: Thicker latex ceiling paints work best. They cling to the raised texture instead of running into the valleys and pooling. Colour: White or off-white are the most common choices for a textured ceiling because they reflect light and make rooms feel larger. If you want a colour, stay within one or two shades of white to keep things feeling open. Type: Stick with water-based latex. Oil-based paints are harder to apply on textured surfaces, take much longer to dry, and increase drip risk significantly. Look for products specifically labelled as ceiling paint. These formulas are built with higher viscosity and anti-drip properties, making painting popcorn ceiling far more manageable. For paint selection and colour consultation tailored to your space, True Coat’s residential painting services can take the guesswork out of the process. Do You Need to Prime Before Painting Popcorn Ceiling? Yes. Priming is one of the most important steps before painting popcorn ceiling, and skipping it is one of the most common reasons DIY projects end up looking uneven. A primer seals the porous texture and creates a stable base for the topcoat. Without it, you will need three or four coats to achieve even coverage, which adds cost, time, and extra weight to the ceiling. When priming matters most: Use a PVA-based drywall primer for standard ceilings and a stain-blocking primer for discoloured ones. Apply with the same thick-nap roller you will use for the topcoat and let it dry completely before moving forward. How to Prepare the Room Before Painting Popcorn Ceiling Good preparation is where the real work happens. Rushing through prep leads to messy edges, damaged texture, and a lot of unnecessary cleanup. Step-by-Step Prep Checklist How Do Professionals Paint Popcorn Ceilings? Professional painters approach painting popcorn ceiling with a consistent method that protects the texture while getting full, even coverage. The Professional Process 1. Inspection First: Professionals assess the ceiling’s condition, check for moisture damage, and confirm the texture is stable before anything else. 2. Full Masking: Walls, trim, and floors are fully protected before any paint goes on. 3. Primer Before Paint: A thick-nap roller is used to apply primer first. Professionals never use a brush directly on texture because bristles can pull chunks free. 4. Light, Consistent Strokes: The roller is loaded lightly and moved slowly in one direction. Pressing too hard flattens the bumps. Going over the same wet spot too many times tears the texture. 5. Two Thin Coats: Rather than one heavy coat, two thinner coats are applied, allowing each to dry fully. This gives better coverage without weighing down the surface. 6. Hand-Cut Edges Last: After rolling, a brush is used carefully along edges and corners. Professionals use minimal paint at this stage to avoid soaking the texture near the walls. If painting popcorn ceiling feels like more than you want to take on, the team at True Coat in Winnipeg handles jobs like this from prep through final coat. Do You Need a Special Roller for Painting Popcorn Ceiling? Yes. Roller nap thickness is one of the most important tool decisions for this type of ceiling project. Roller Nap Best For 1/4 inch Smooth walls only, not suitable for texture 1/2 inch Lightly textured surfaces 3/4 inch Standard popcorn ceilings 1 inch or more Heavy or older textured ceilings A 3/4-inch thick nap roller is the right choice for most painting popcorn ceiling projects. It carries enough paint to reach into the valleys of the texture without needing multiple passes. For ceilings with heavier texture, a 1-inch nap is even better. Pair your roller with an extension pole so you can work from the floor. This gives you better pressure control and reduces strain on your neck and shoulders. Avoid foam rollers entirely because they carry too little paint and can tear the texture on contact. Can I Just Paint Over a Popcorn Ceiling? Yes, you can paint over it directly without removing the texture, provided the surface is in stable condition. If the texture is firmly attached, dry, and free of peeling or mould, painting popcorn ceiling over it is a safe and practical choice. However, painting over it will not hide significant water stains without a stain-blocking primer layer applied first. It also will not fix sections where the texture is already falling away. Those spots need to be patched