
Painting Preparation: A Complete Guide from Winnipeg Professionals
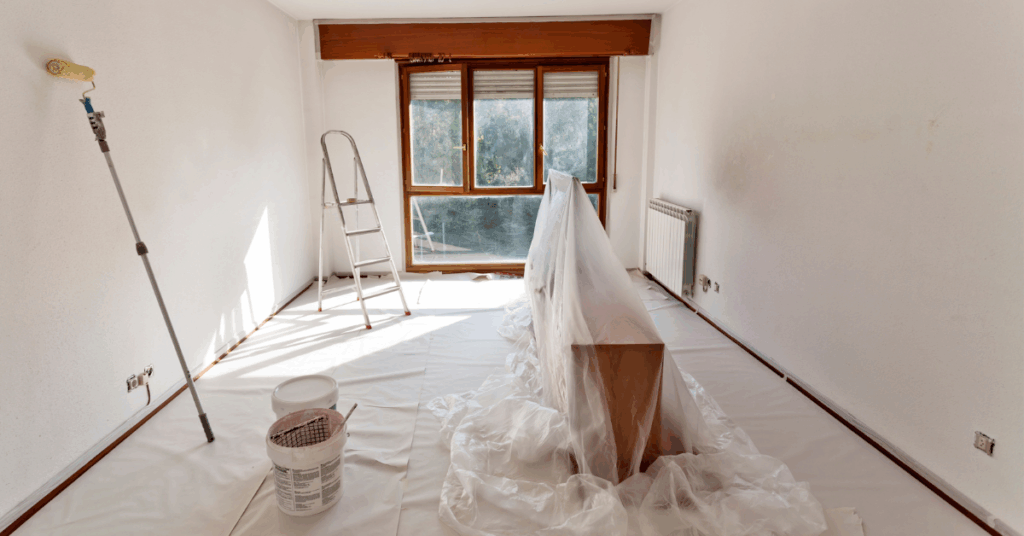
Knowing how to prep your home for painting can make the difference between a professional-looking finish and a disappointing result. Preparation accounts for approximately 70% of a successful paint job, affecting both appearance and longevity. Whether you’re refreshing a single room or planning a whole-house makeover, proper surface preparation, thorough cleaning, and careful protection of your belongings create the foundation for beautiful, long-lasting results. Understanding the Importance of Proper Surface Preparation for Painting Surface preparation directly impacts paint adhesion, finish quality, and durability. Skipping preparation steps often leads to peeling, bubbling, or uneven color coverage within months. Professional painters spend considerable time on prep work because it eliminates future problems and saves money on touch-ups or complete repaints. Clean surfaces allow paint to bond properly with walls and trim. Dust, grease, and old flaking paint create barriers that prevent new coatings from adhering correctly. Filling holes and cracks before painting prevents shadows and texture problems that become more visible once paint dries. Clearing and Protecting Your Space Remove as much furniture as possible from the room before starting any painting project. Items that cannot be moved should be clustered in the center and covered with canvas drop cloths or plastic sheeting. Canvas drop cloths are preferable because they absorb paint spills rather than creating slippery surfaces. Take down wall decorations, curtains, and curtain rods. Remove outlet covers, light switch plates, and any hardware attached to walls or trim. Store these small items in labeled bags so you can easily reinstall them after painting. Cover floors completely with drop cloths, securing edges with painter’s tape to prevent shifting during work. Cleaning Walls and Surfaces Thoroughly Begin wall preparation by dusting from ceiling to floor using a microfiber cloth or vacuum with a brush attachment. Cobwebs and dust particles interfere with paint adhesion and can get trapped in wet paint, creating bumpy textures. Wash walls with a solution of warm water and mild dish soap or trisodium phosphate (TSP) for heavily soiled areas. Use a sponge to clean in circular motions, working from bottom to top to prevent streaking. Rinse with clean water and allow walls to dry completely before proceeding—typically 24 hours depending on humidity levels. Kitchen and bathroom walls often have grease buildup or mildew that requires special attention. For mildew, use a mixture of water and bleach (one part bleach to three parts water) applied with a spray bottle, then scrub gently and rinse thoroughly. Repairing Damaged Areas in Painting Inspect walls carefully for holes, cracks, dents, and other imperfections. Small nail holes can be filled with spackling compound using a putty knife. For larger holes, you may need drywall patches or mesh tape before applying joint compound. Apply spackling or joint compound in thin layers, allowing each layer to dry before adding more. Overfilling creates extra sanding work. Once repairs are completely dry, usually within a few hours—sand them smooth with fine-grit sandpaper (150 to 220 grit). Cracks along ceiling lines or in corners often indicate settling and may reappear after painting. Use flexible caulk designed for paintable applications to fill these gaps. Smooth caulk with a wet finger or caulk tool immediately after application for a seamless appearance. How to Prep Your Home for Painting: Sanding Techniques Sanding creates a slightly rough surface that helps new paint grip effectively. Use medium-grit sandpaper (100 to 120 grit) for initial sanding on glossy surfaces or old paint, then finish with fine-grit (150 to 220 grit) for smoothness. Sand lightly in circular motions without applying excessive pressure. Over-sanding can damage drywall paper or create uneven surfaces. After sanding, wipe walls with a slightly damp cloth to remove all dust particles before painting. Previously painted trim and doors with glossy finishes require sanding to dull the sheen. This step is essential because new paint won’t adhere properly to slick, glossy surfaces. Use a sanding block for flat surfaces and folded sandpaper for detailed molding. Priming for Professional Results Primer seals porous surfaces, covers stains, and creates uniform color absorption. New drywall, patched areas, and dark wall colors all require priming before applying finish coats. Skipping primer often means needing three or four coats of expensive finish paint instead of one coat of affordable primer plus two finish coats. Stain-blocking primers prevent water stains, smoke damage, and marker drawings from bleeding through new paint. These specialized primers are particularly important in bathrooms, kitchens, and children’s rooms where staining is common. Apply primer using the same techniques you’ll use for finish paint, cutting in edges first with a brush, then rolling larger areas. Allow primer to dry according to manufacturer instructions, typically two to four hours, before applying paint. Taping and Masking Quality painter’s tape protects trim, windows, and adjacent surfaces from accidental paint marks. Apply tape carefully along edges, pressing firmly to seal and prevent paint seepage underneath. Remove tape while paint is still slightly damp for clean lines without pulling off dried paint. Use wider tape or masking paper for protecting baseboards and larger trim pieces. Plastic sheeting can protect windows, but be sure to tape all edges completely to prevent paint mist from reaching glass during rolling. Avoid leaving painter’s tape in place for extended periods. Most tapes are designed for removal within 7 to 14 days. Tape left longer may leave adhesive residue or become difficult to remove without damaging surfaces. Ventilation and Safety Considerations Proper ventilation during preparation and painting protects your health and speeds drying times. Open windows and use fans to maintain air circulation throughout the workspace. This is particularly important when using TSP, primers, or oil-based products that emit stronger fumes. Wear appropriate safety equipment including dust masks during sanding, gloves when handling cleaning solutions, and safety glasses when working overhead. Keep children and pets out of work areas until all preparation and painting is complete and fumes have dissipated. Professional Support for Preparation Projects While many homeowners can handle basic preparation work, some situations benefit from professional expertise. Extensive water damage, lead paint